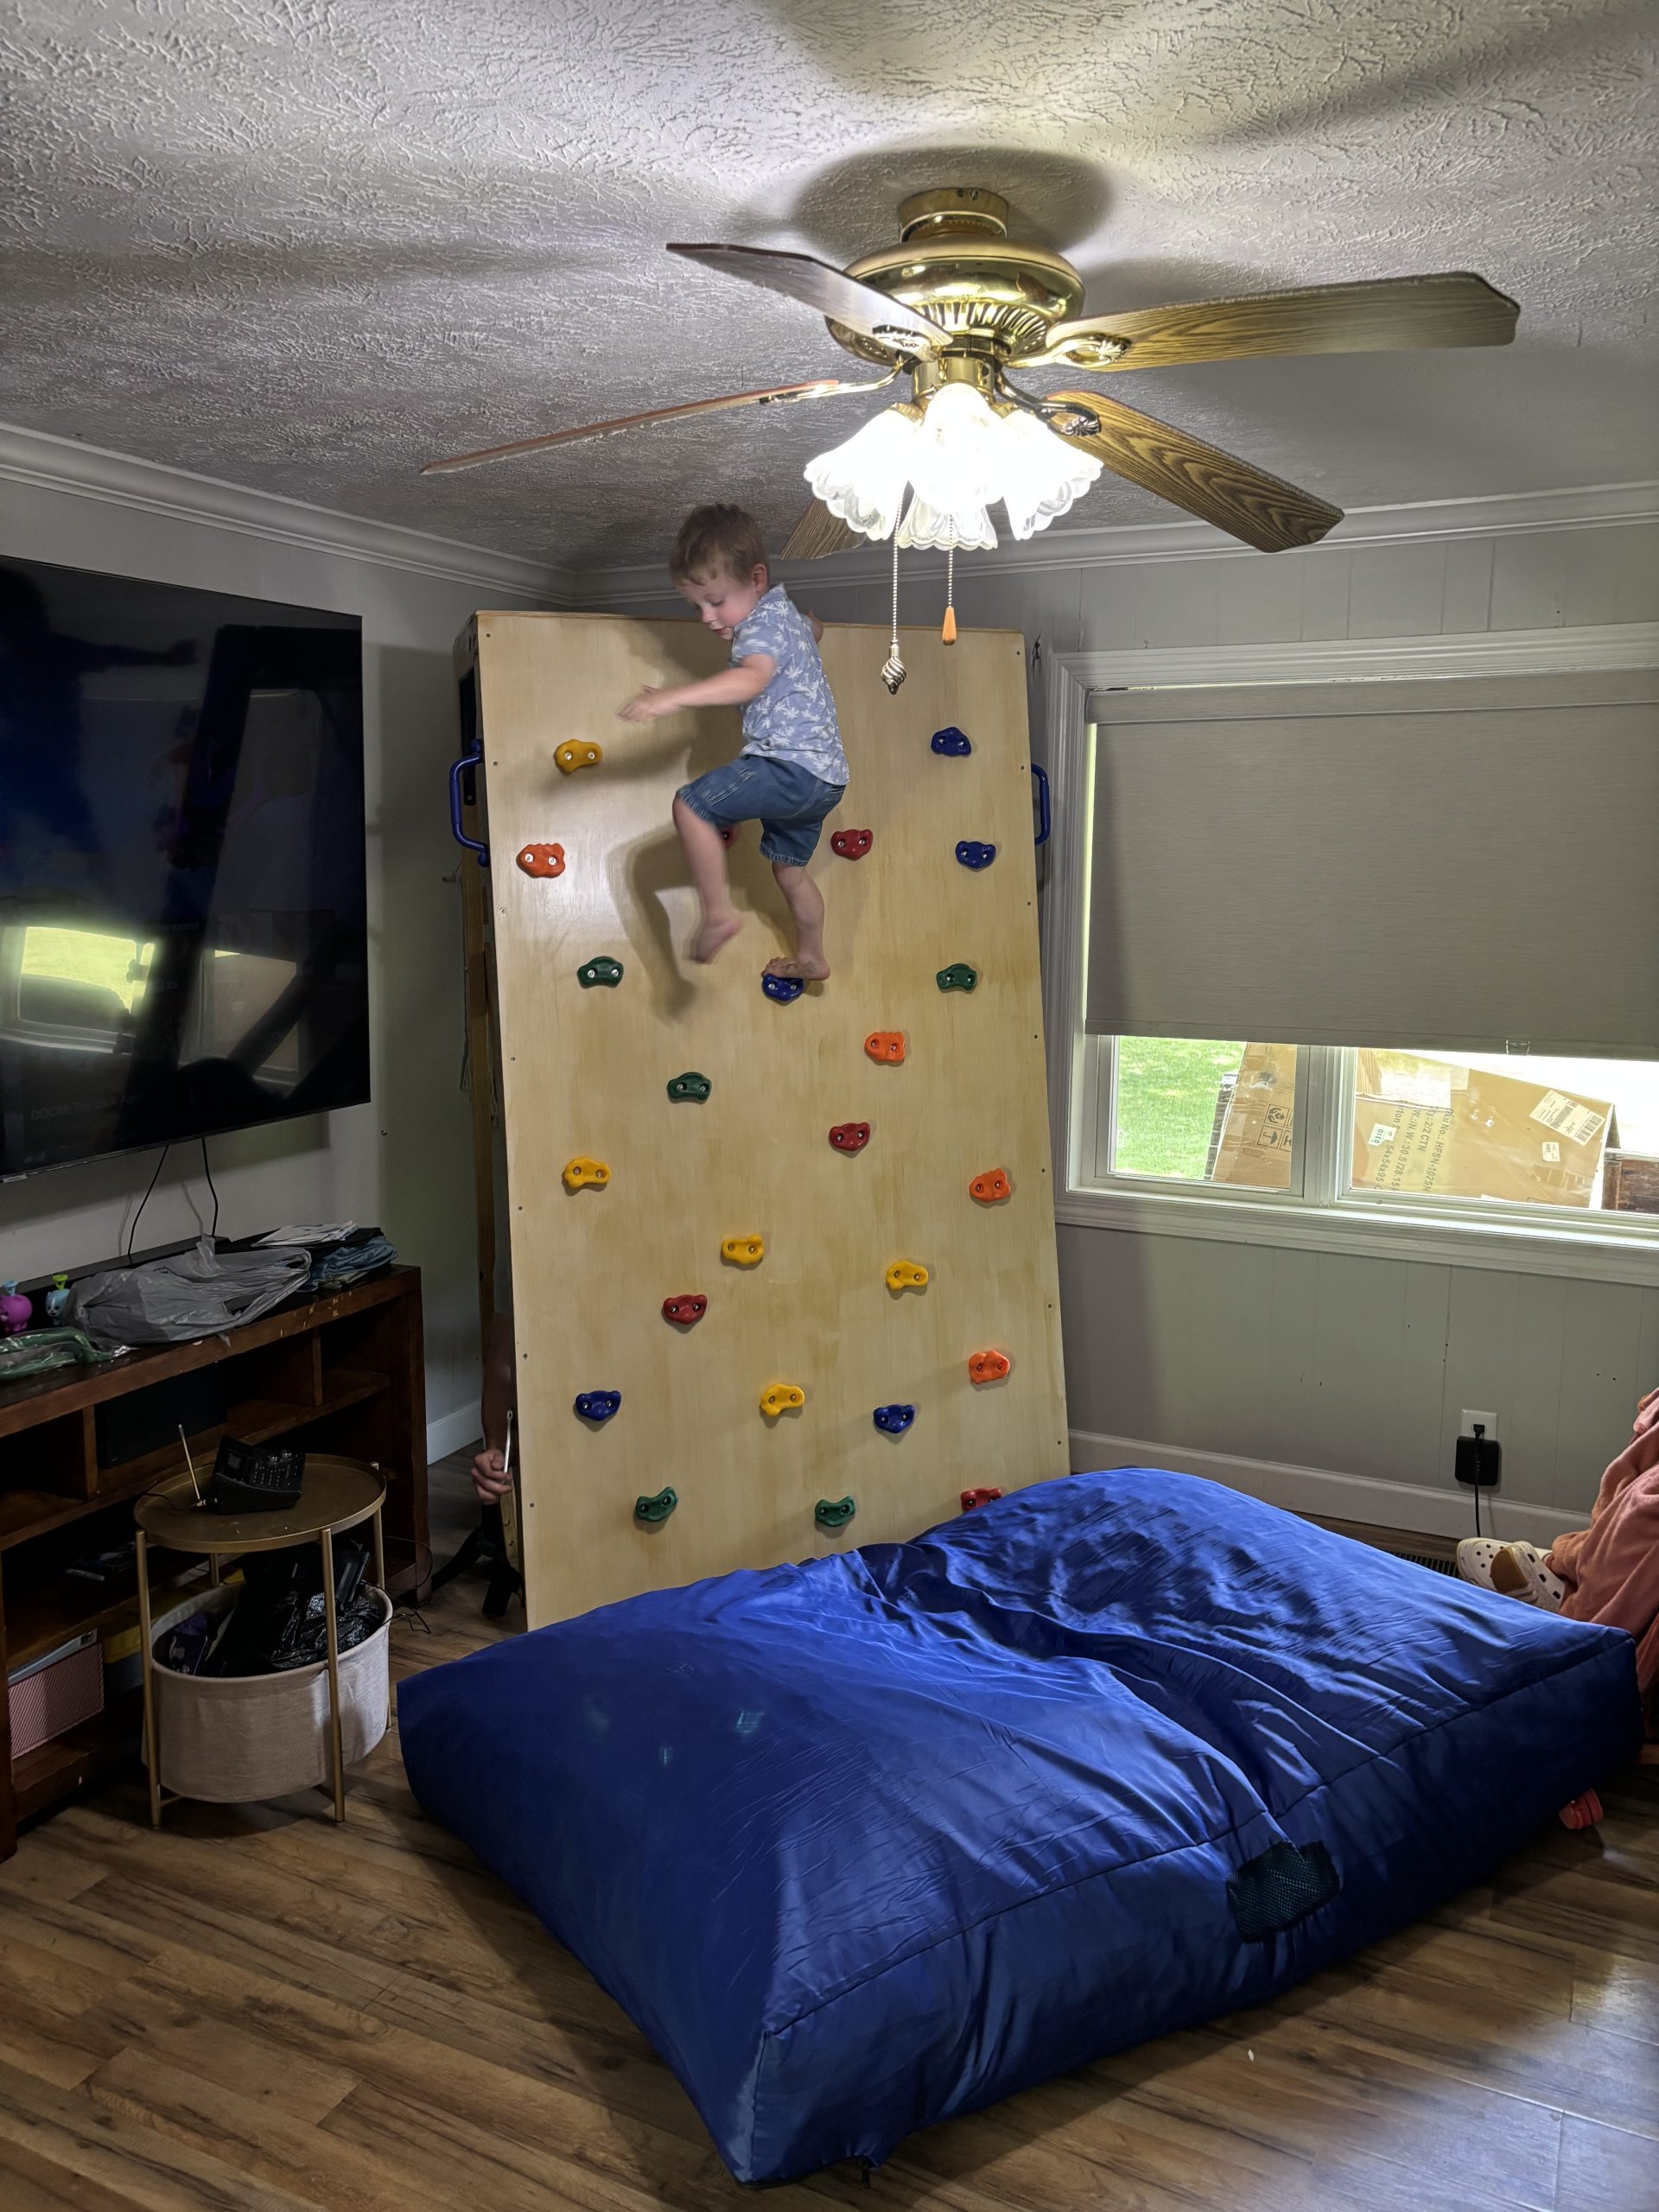
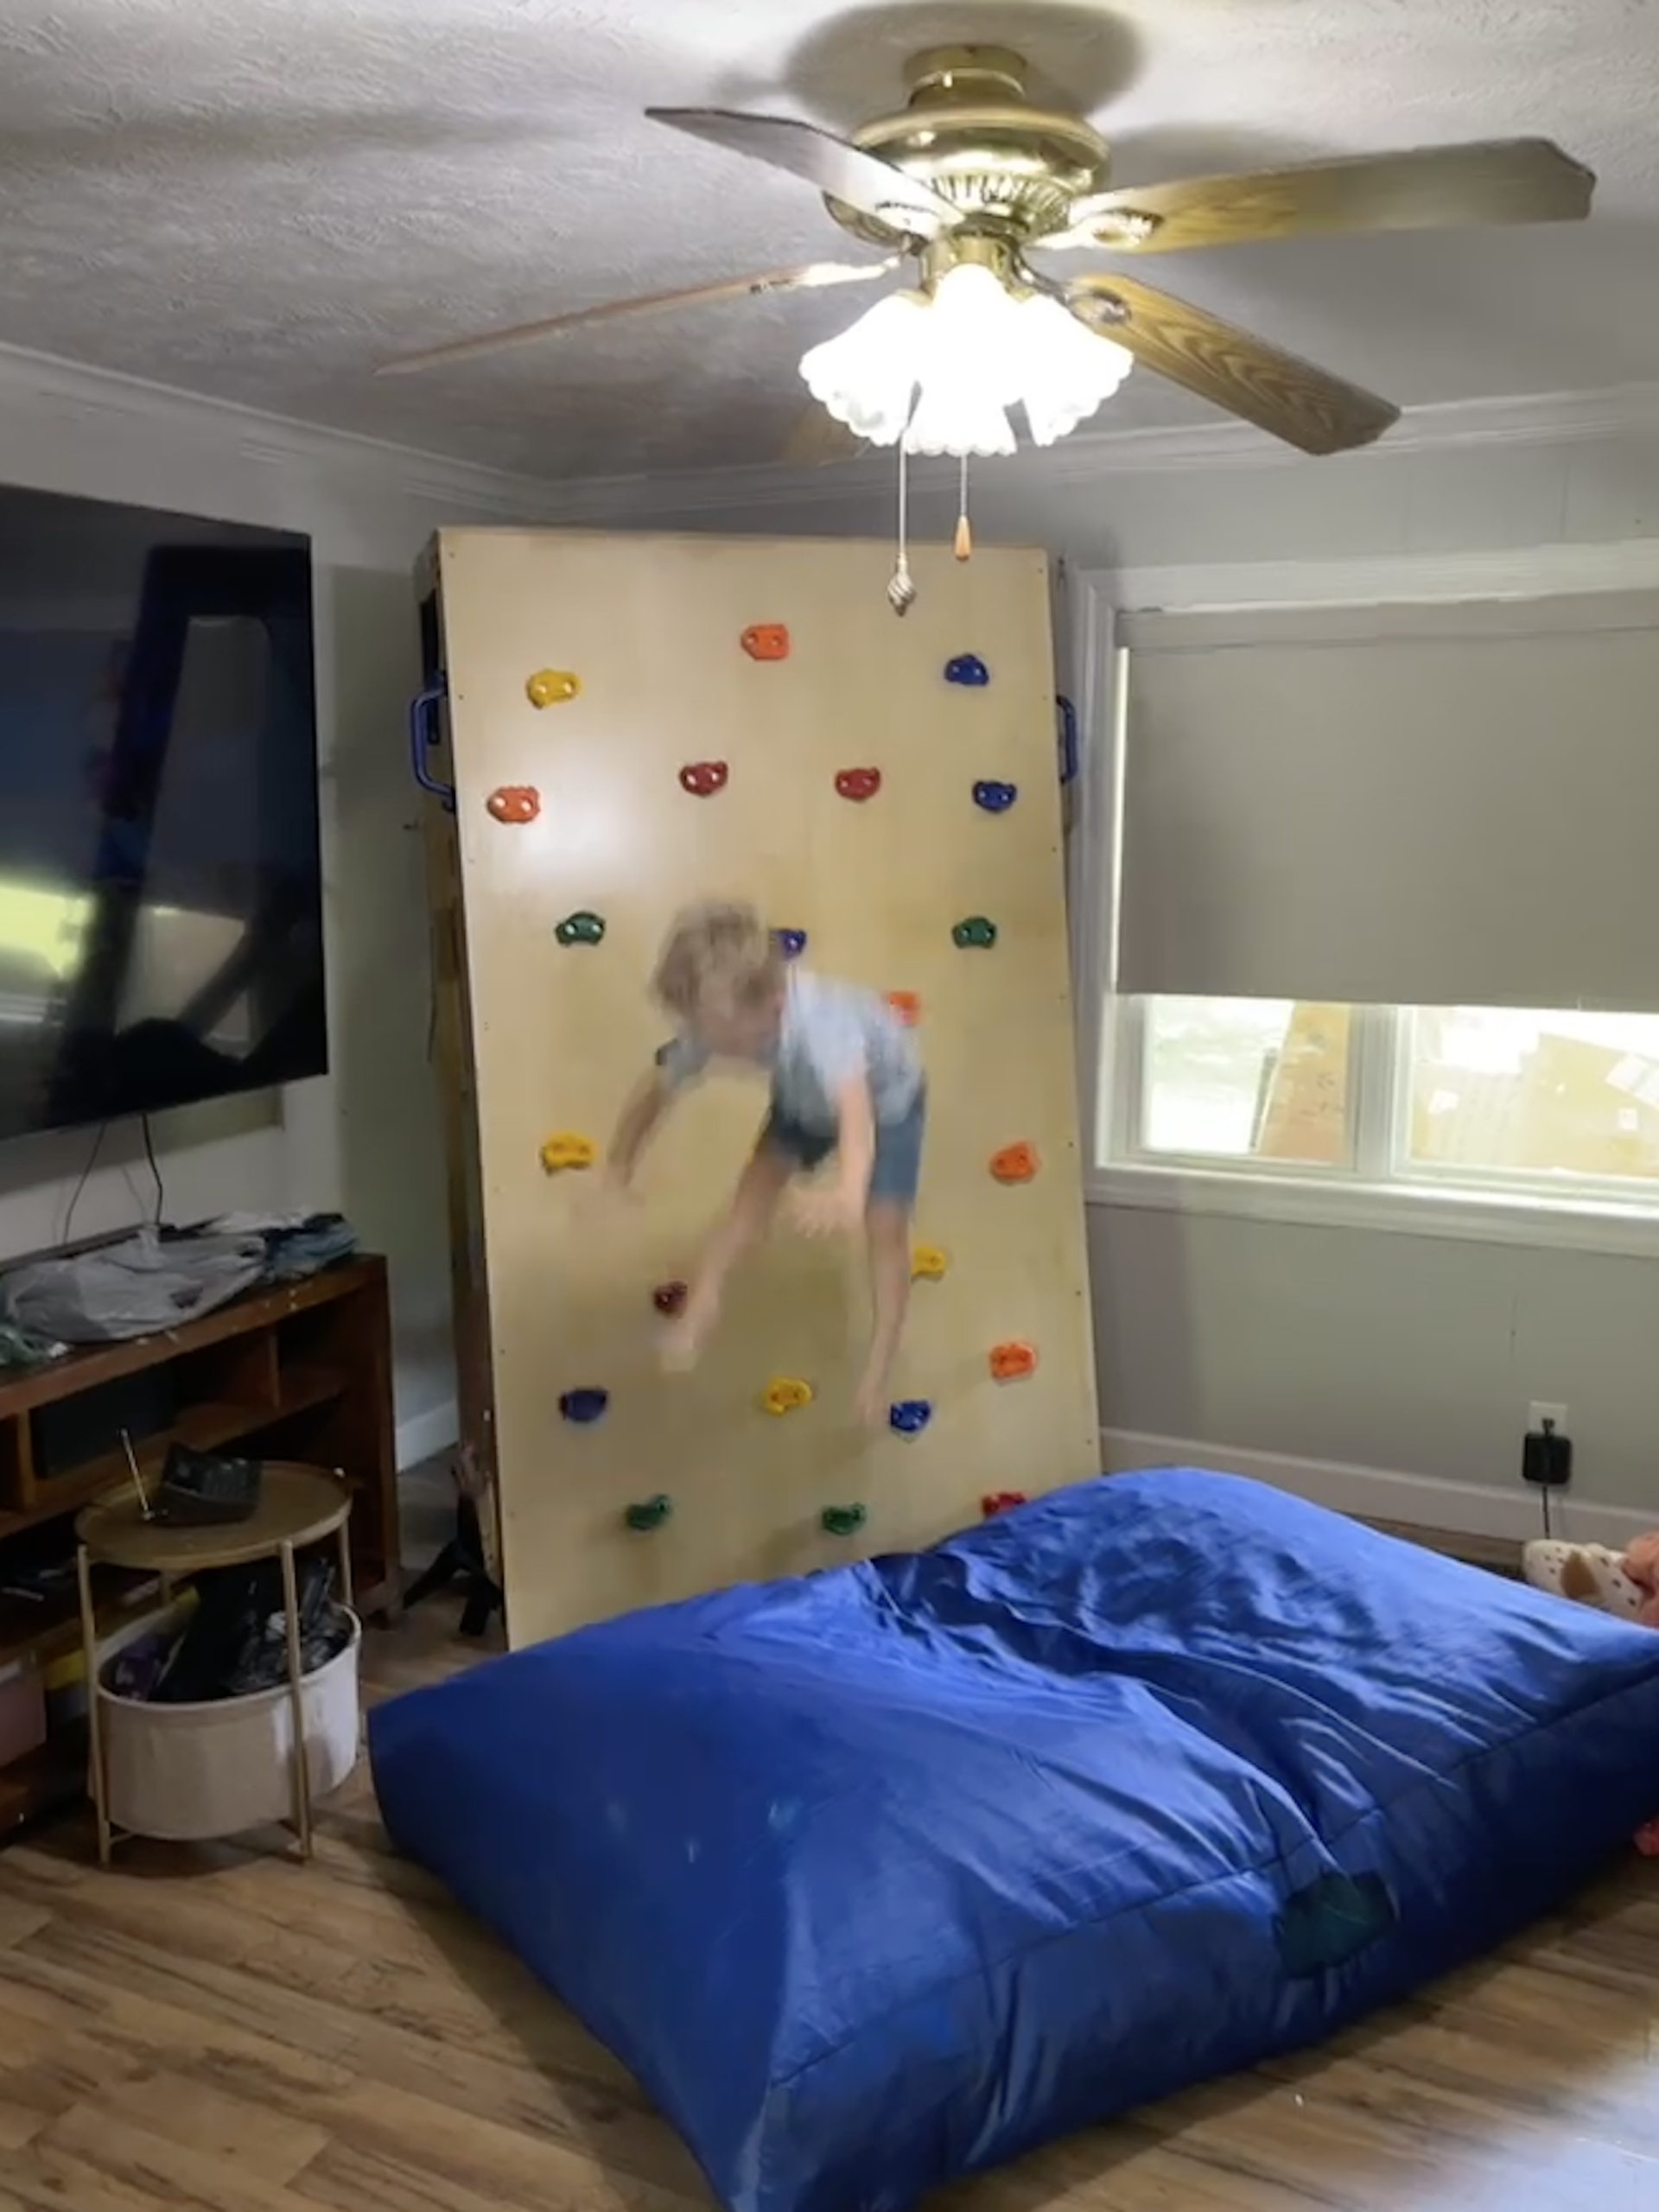
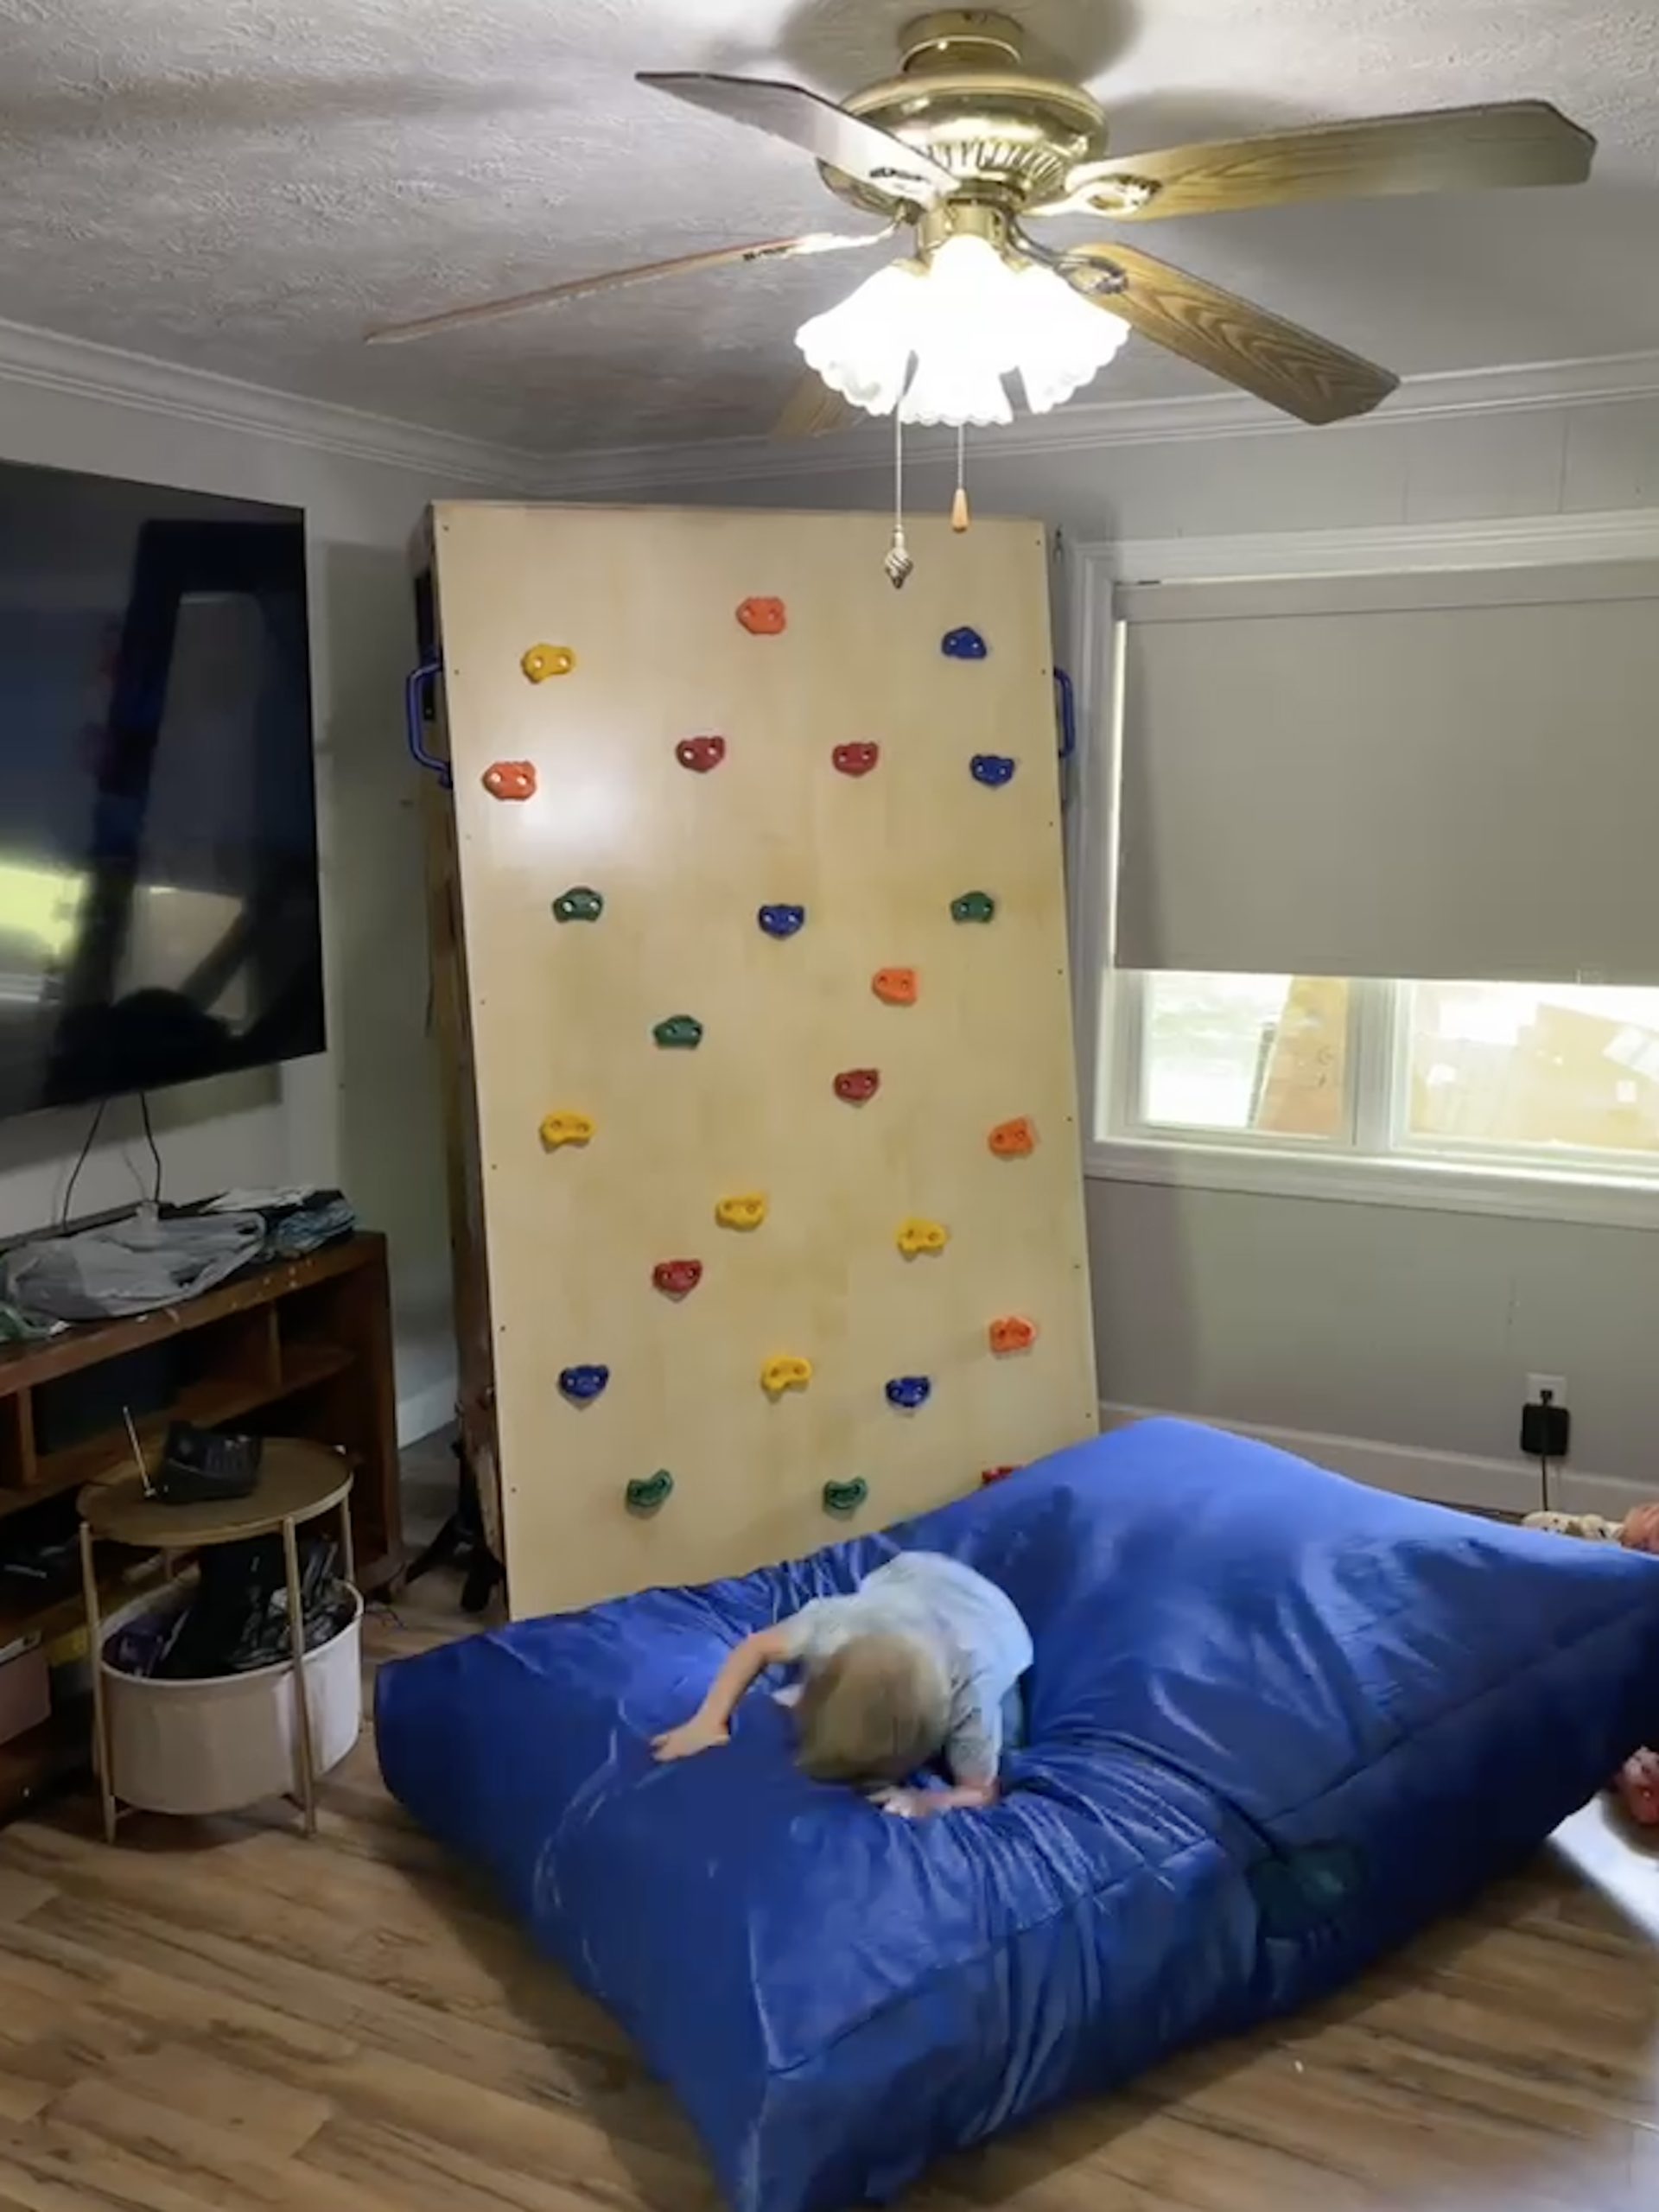
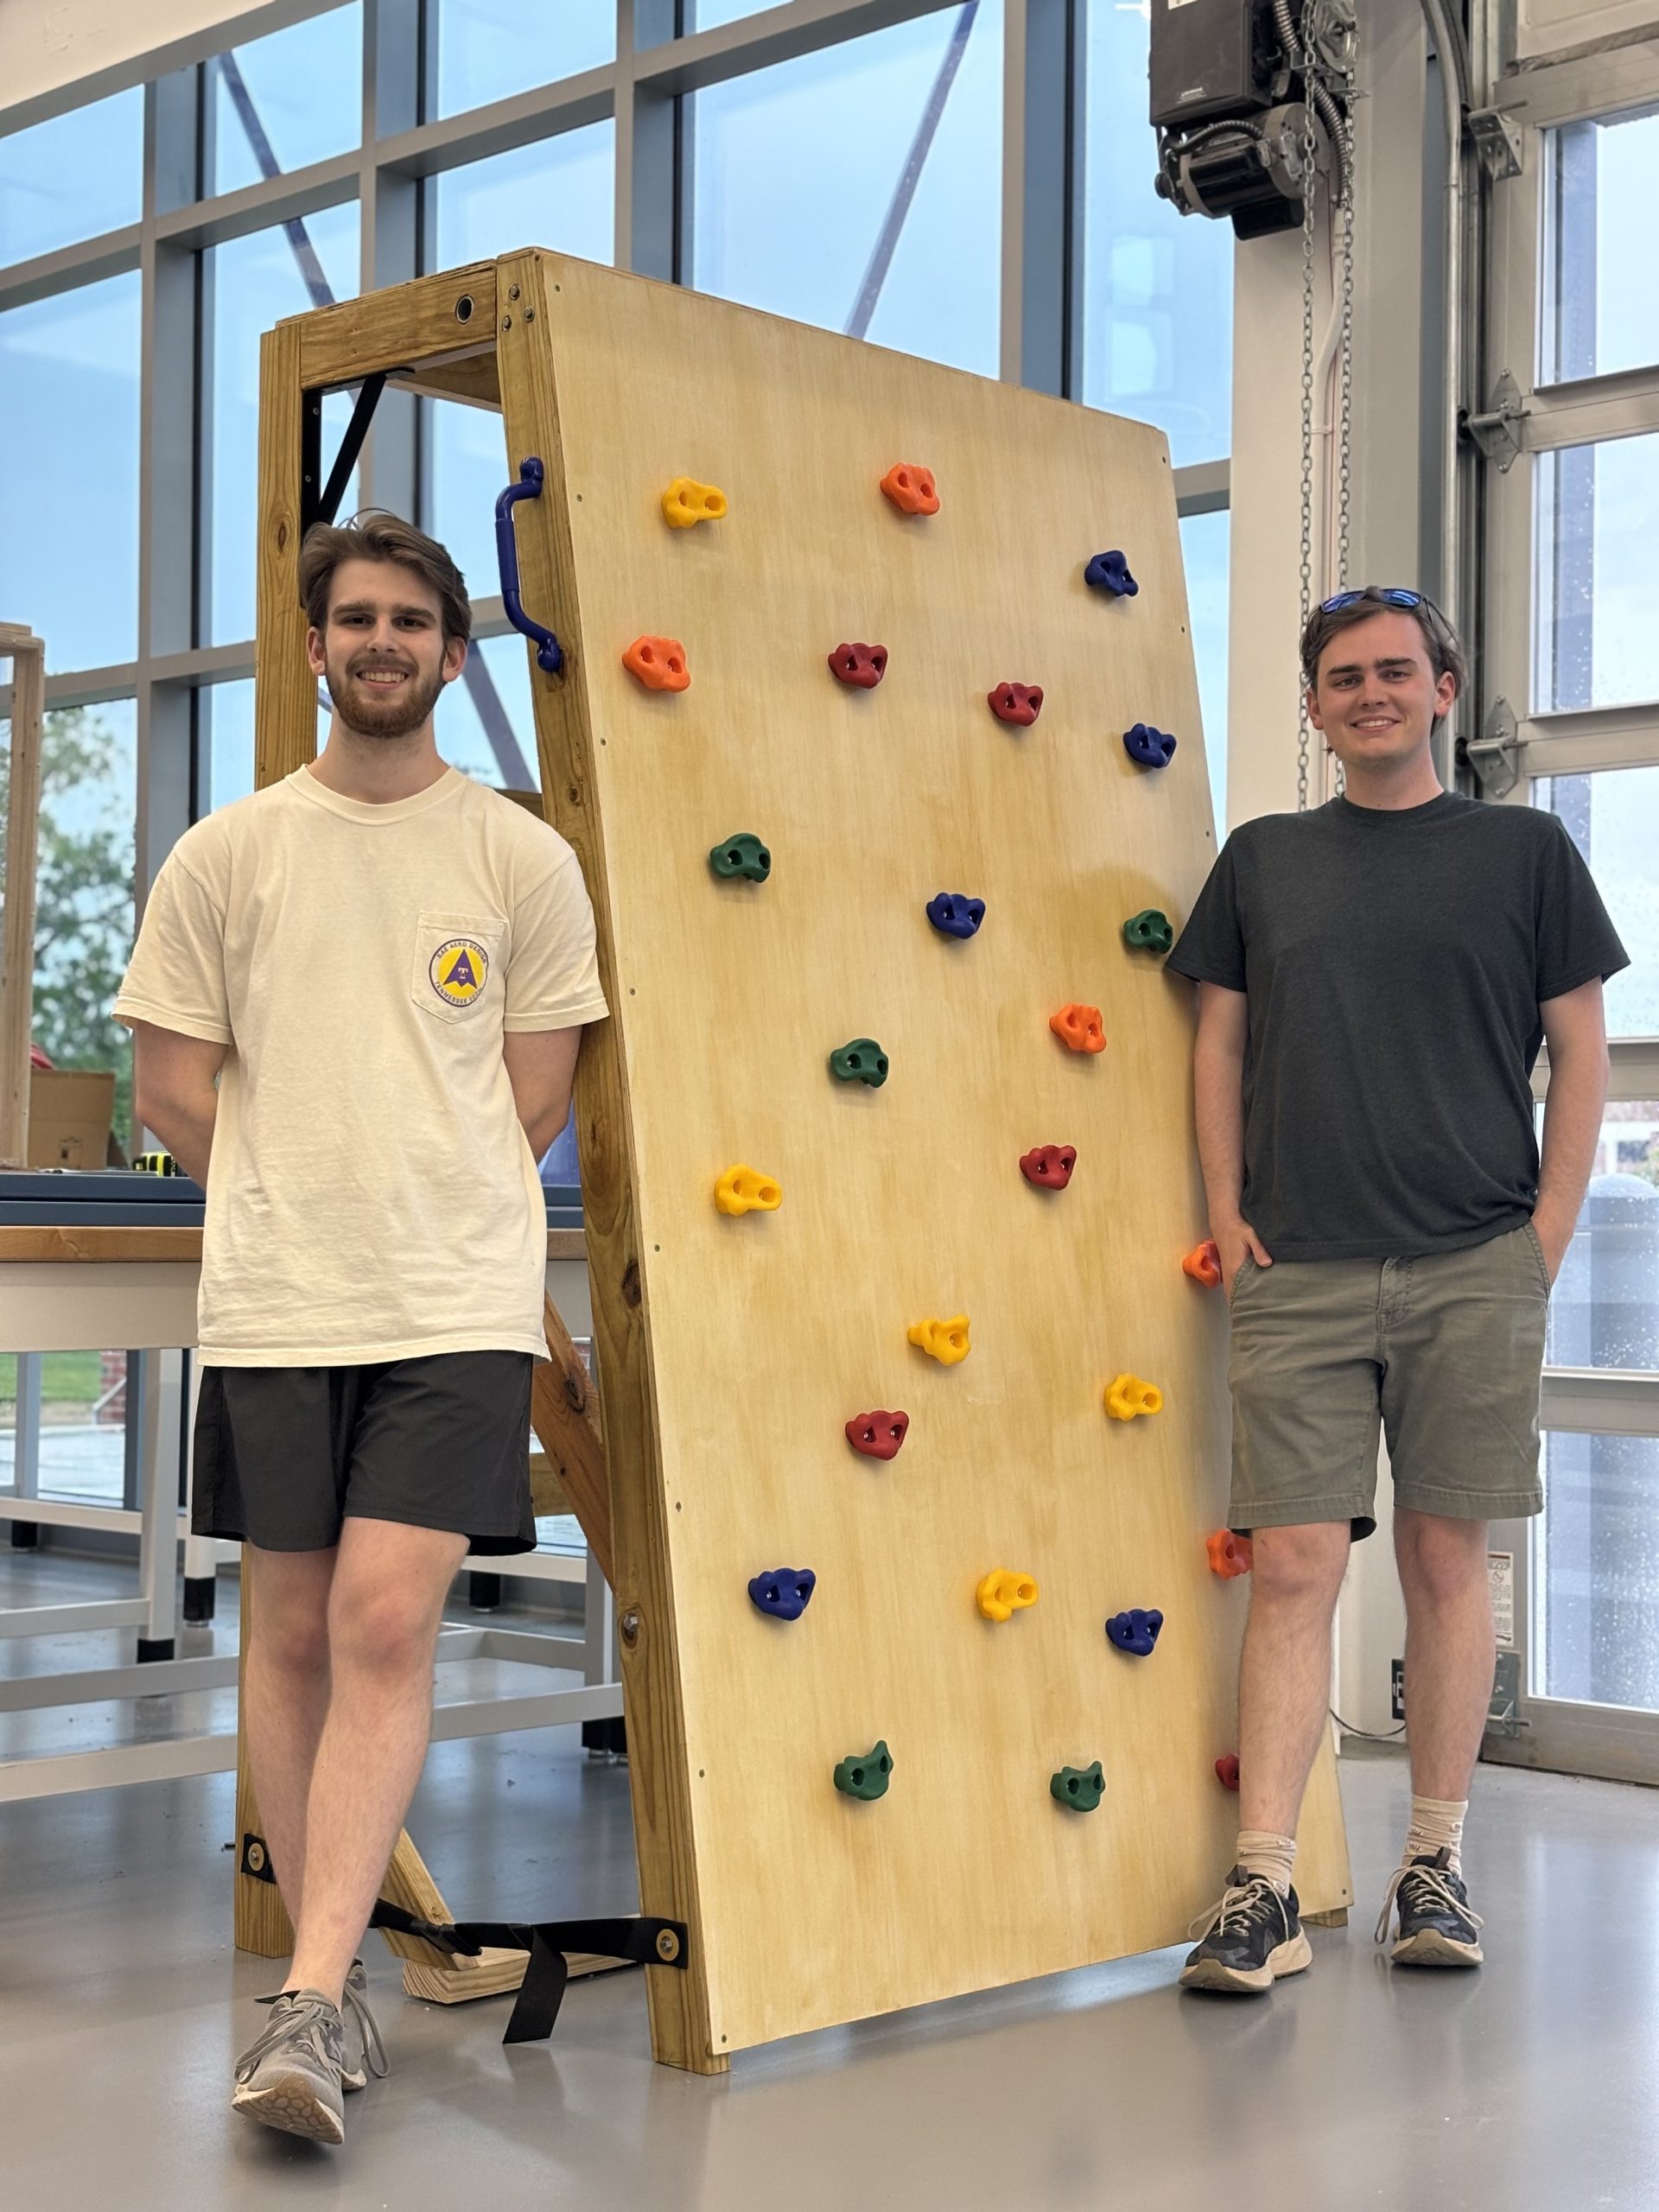
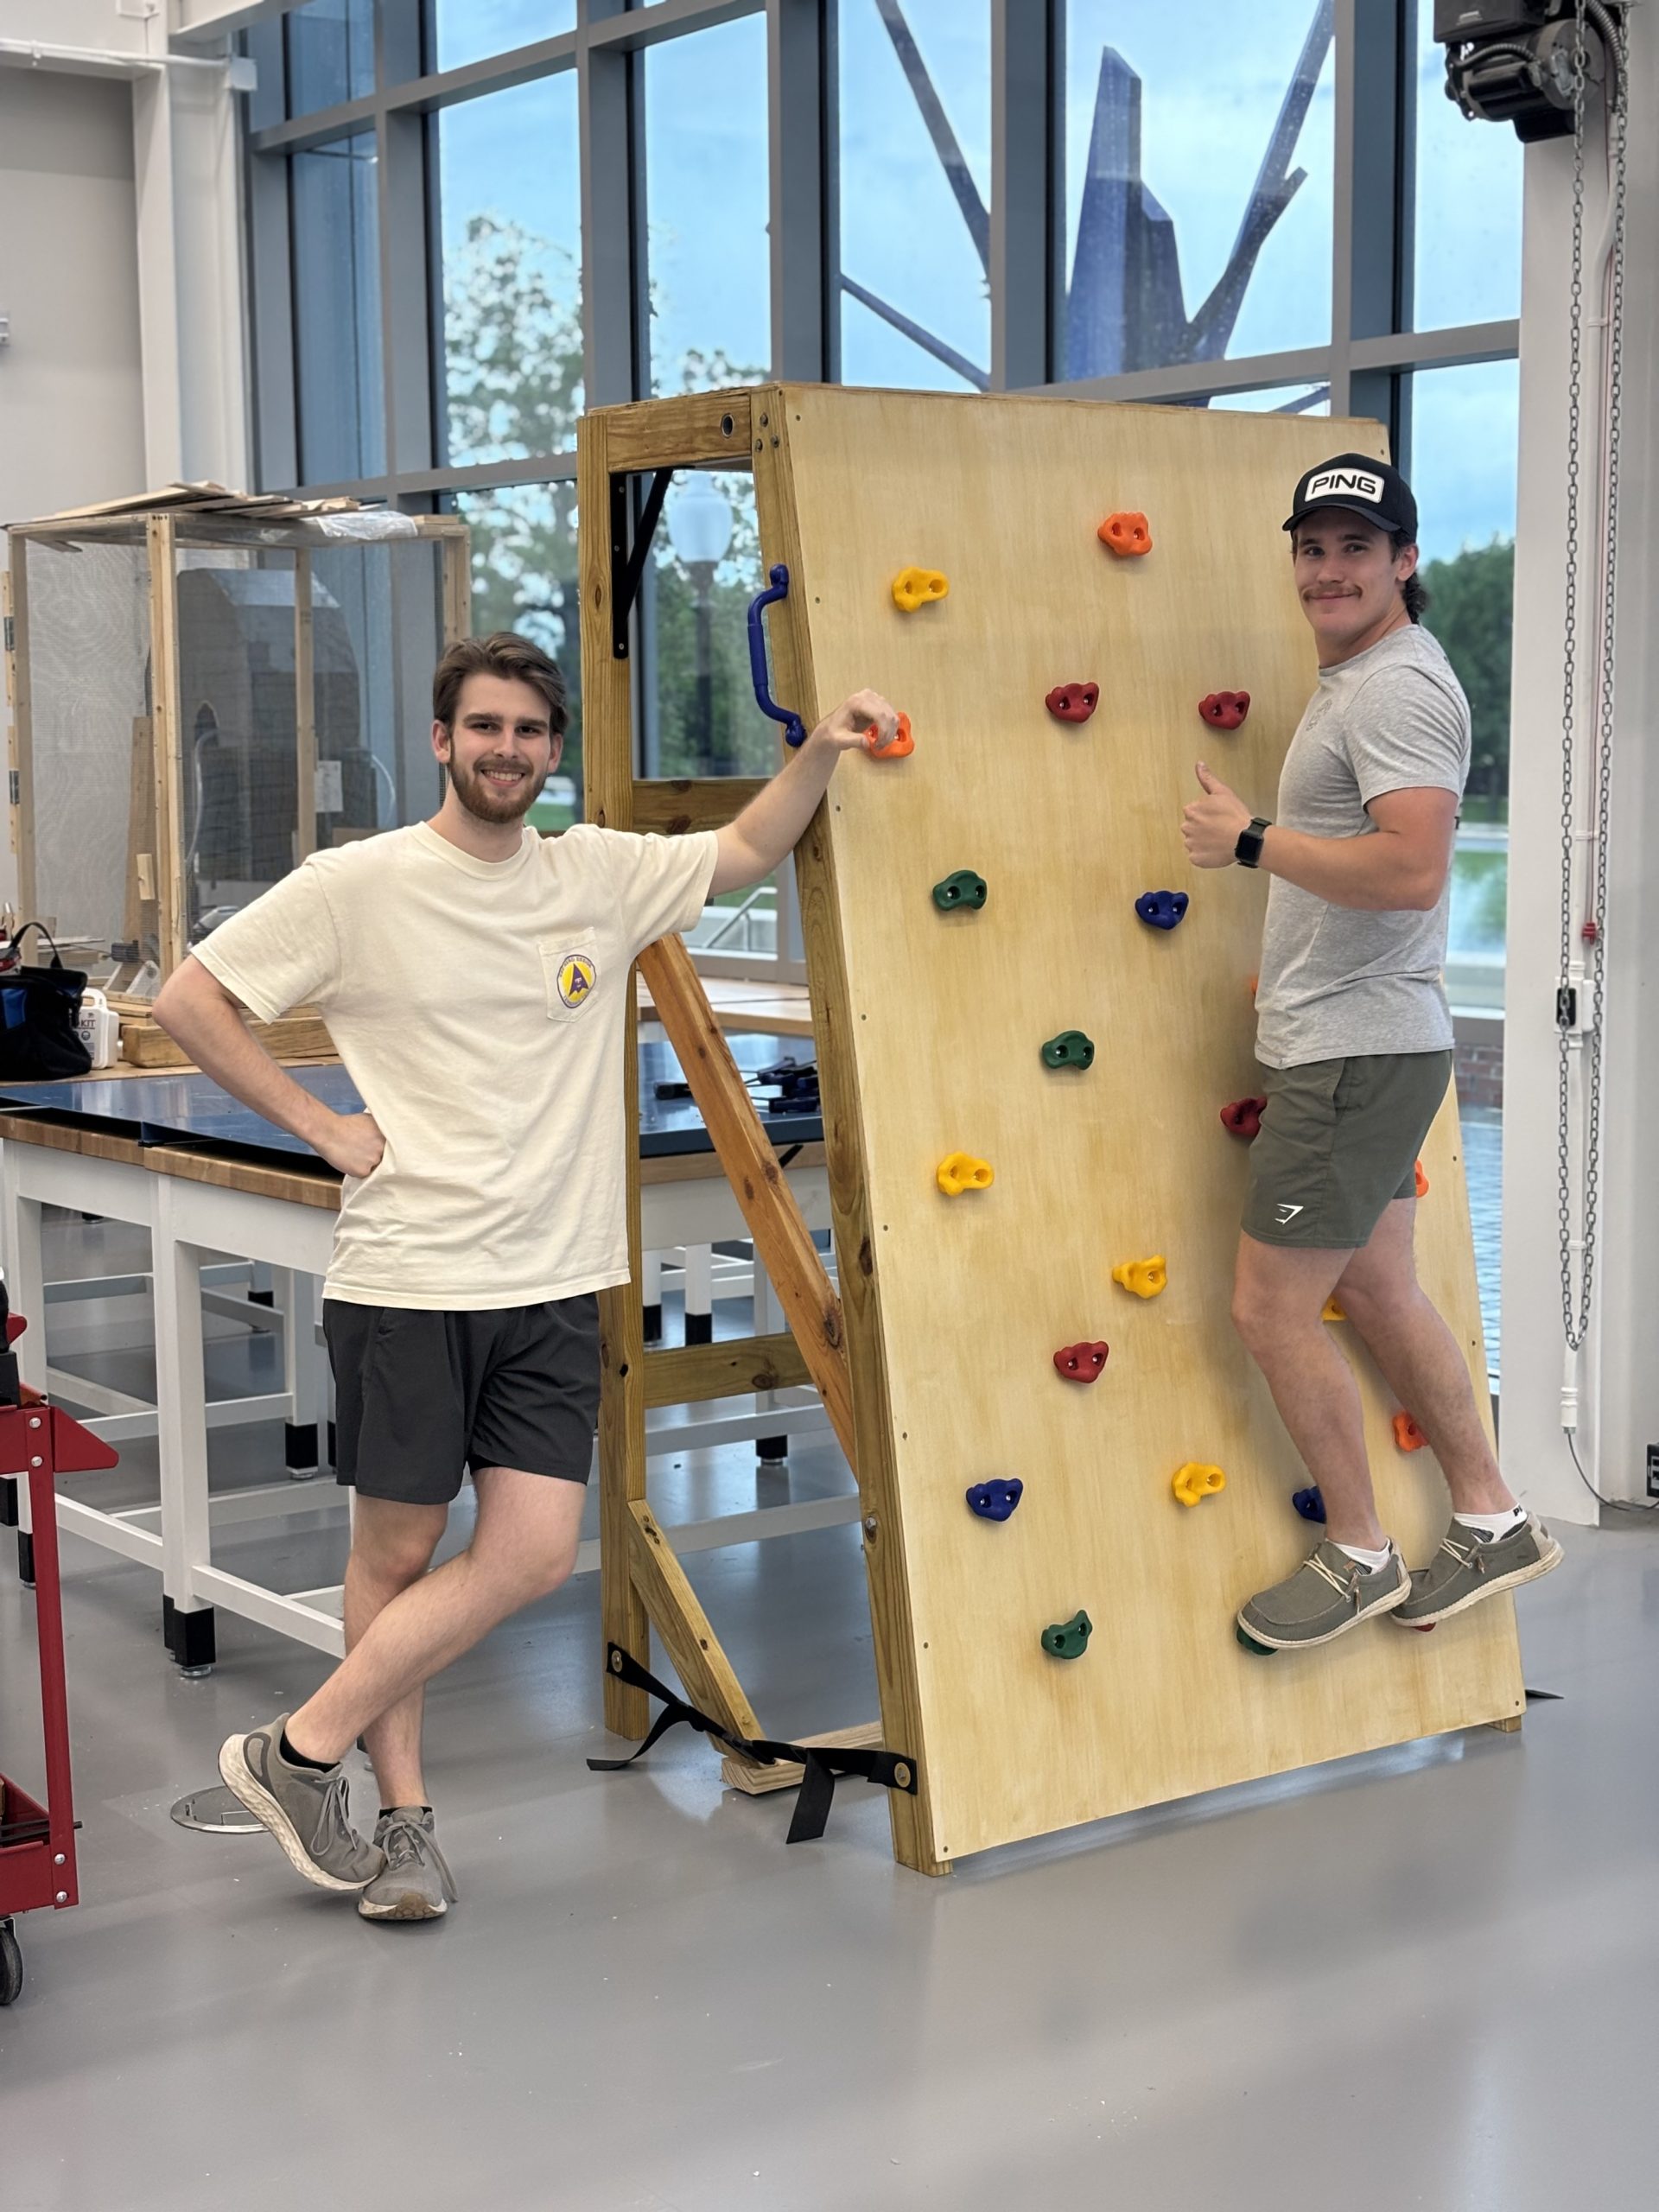
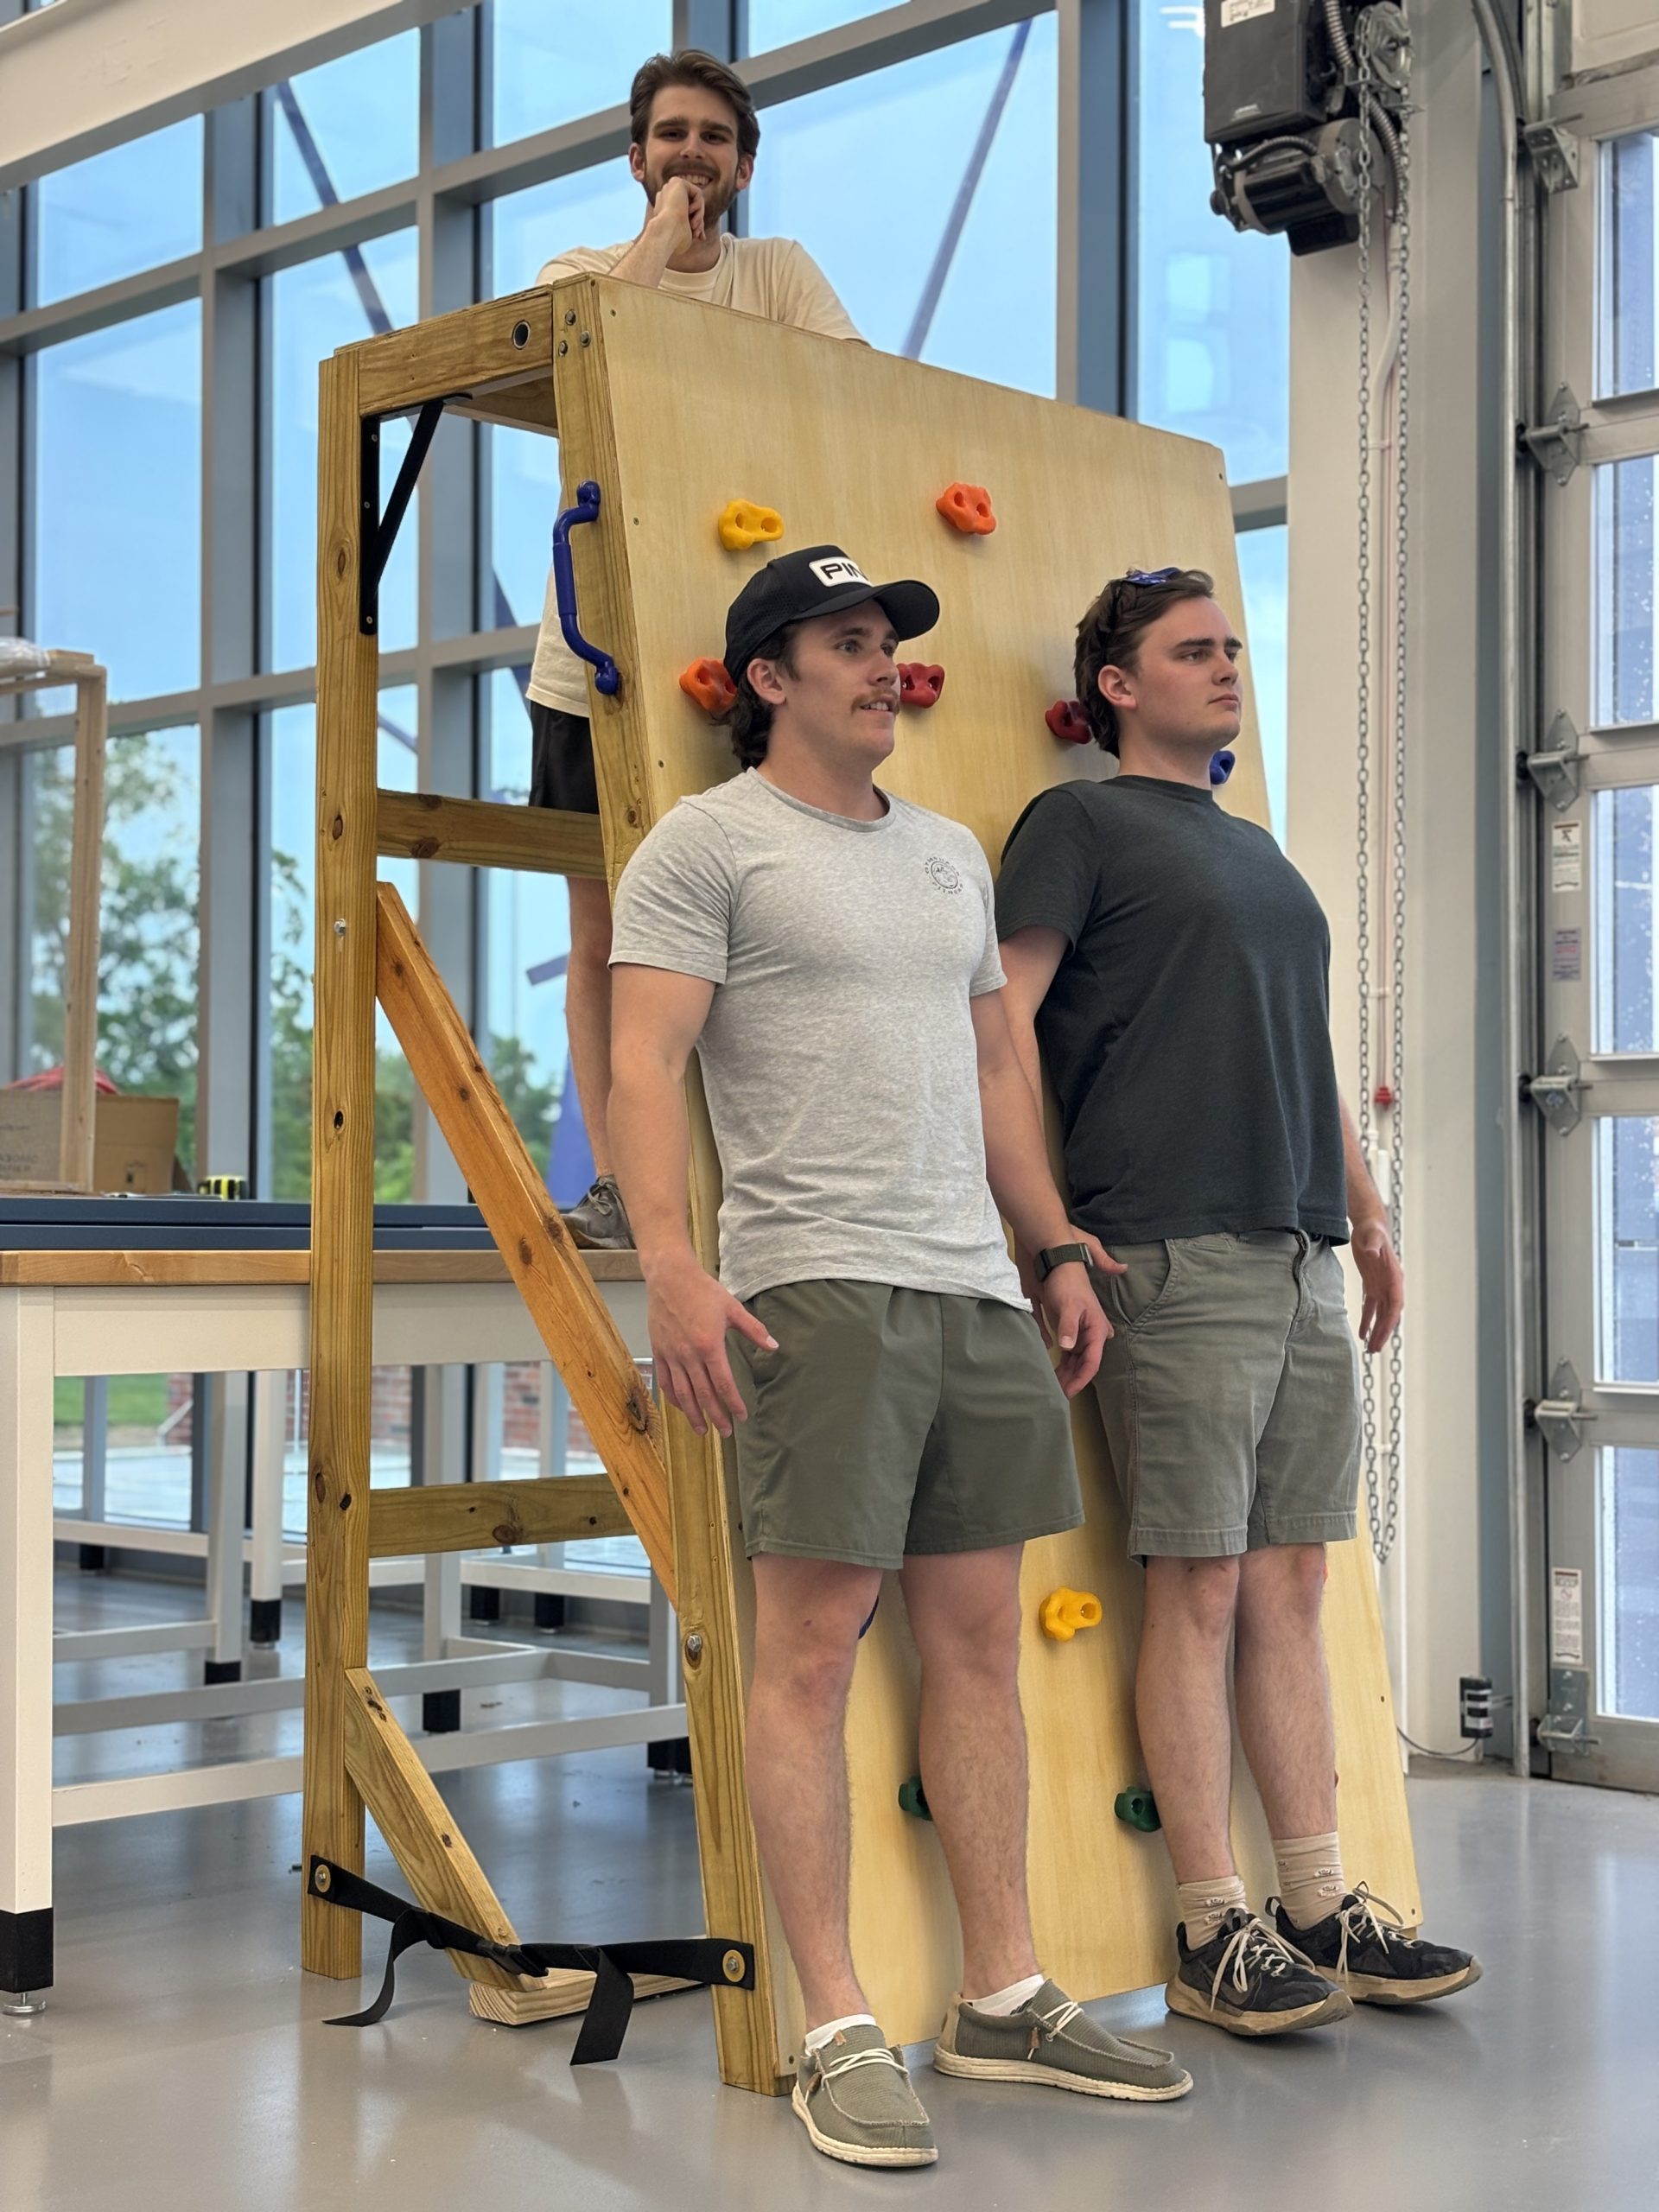
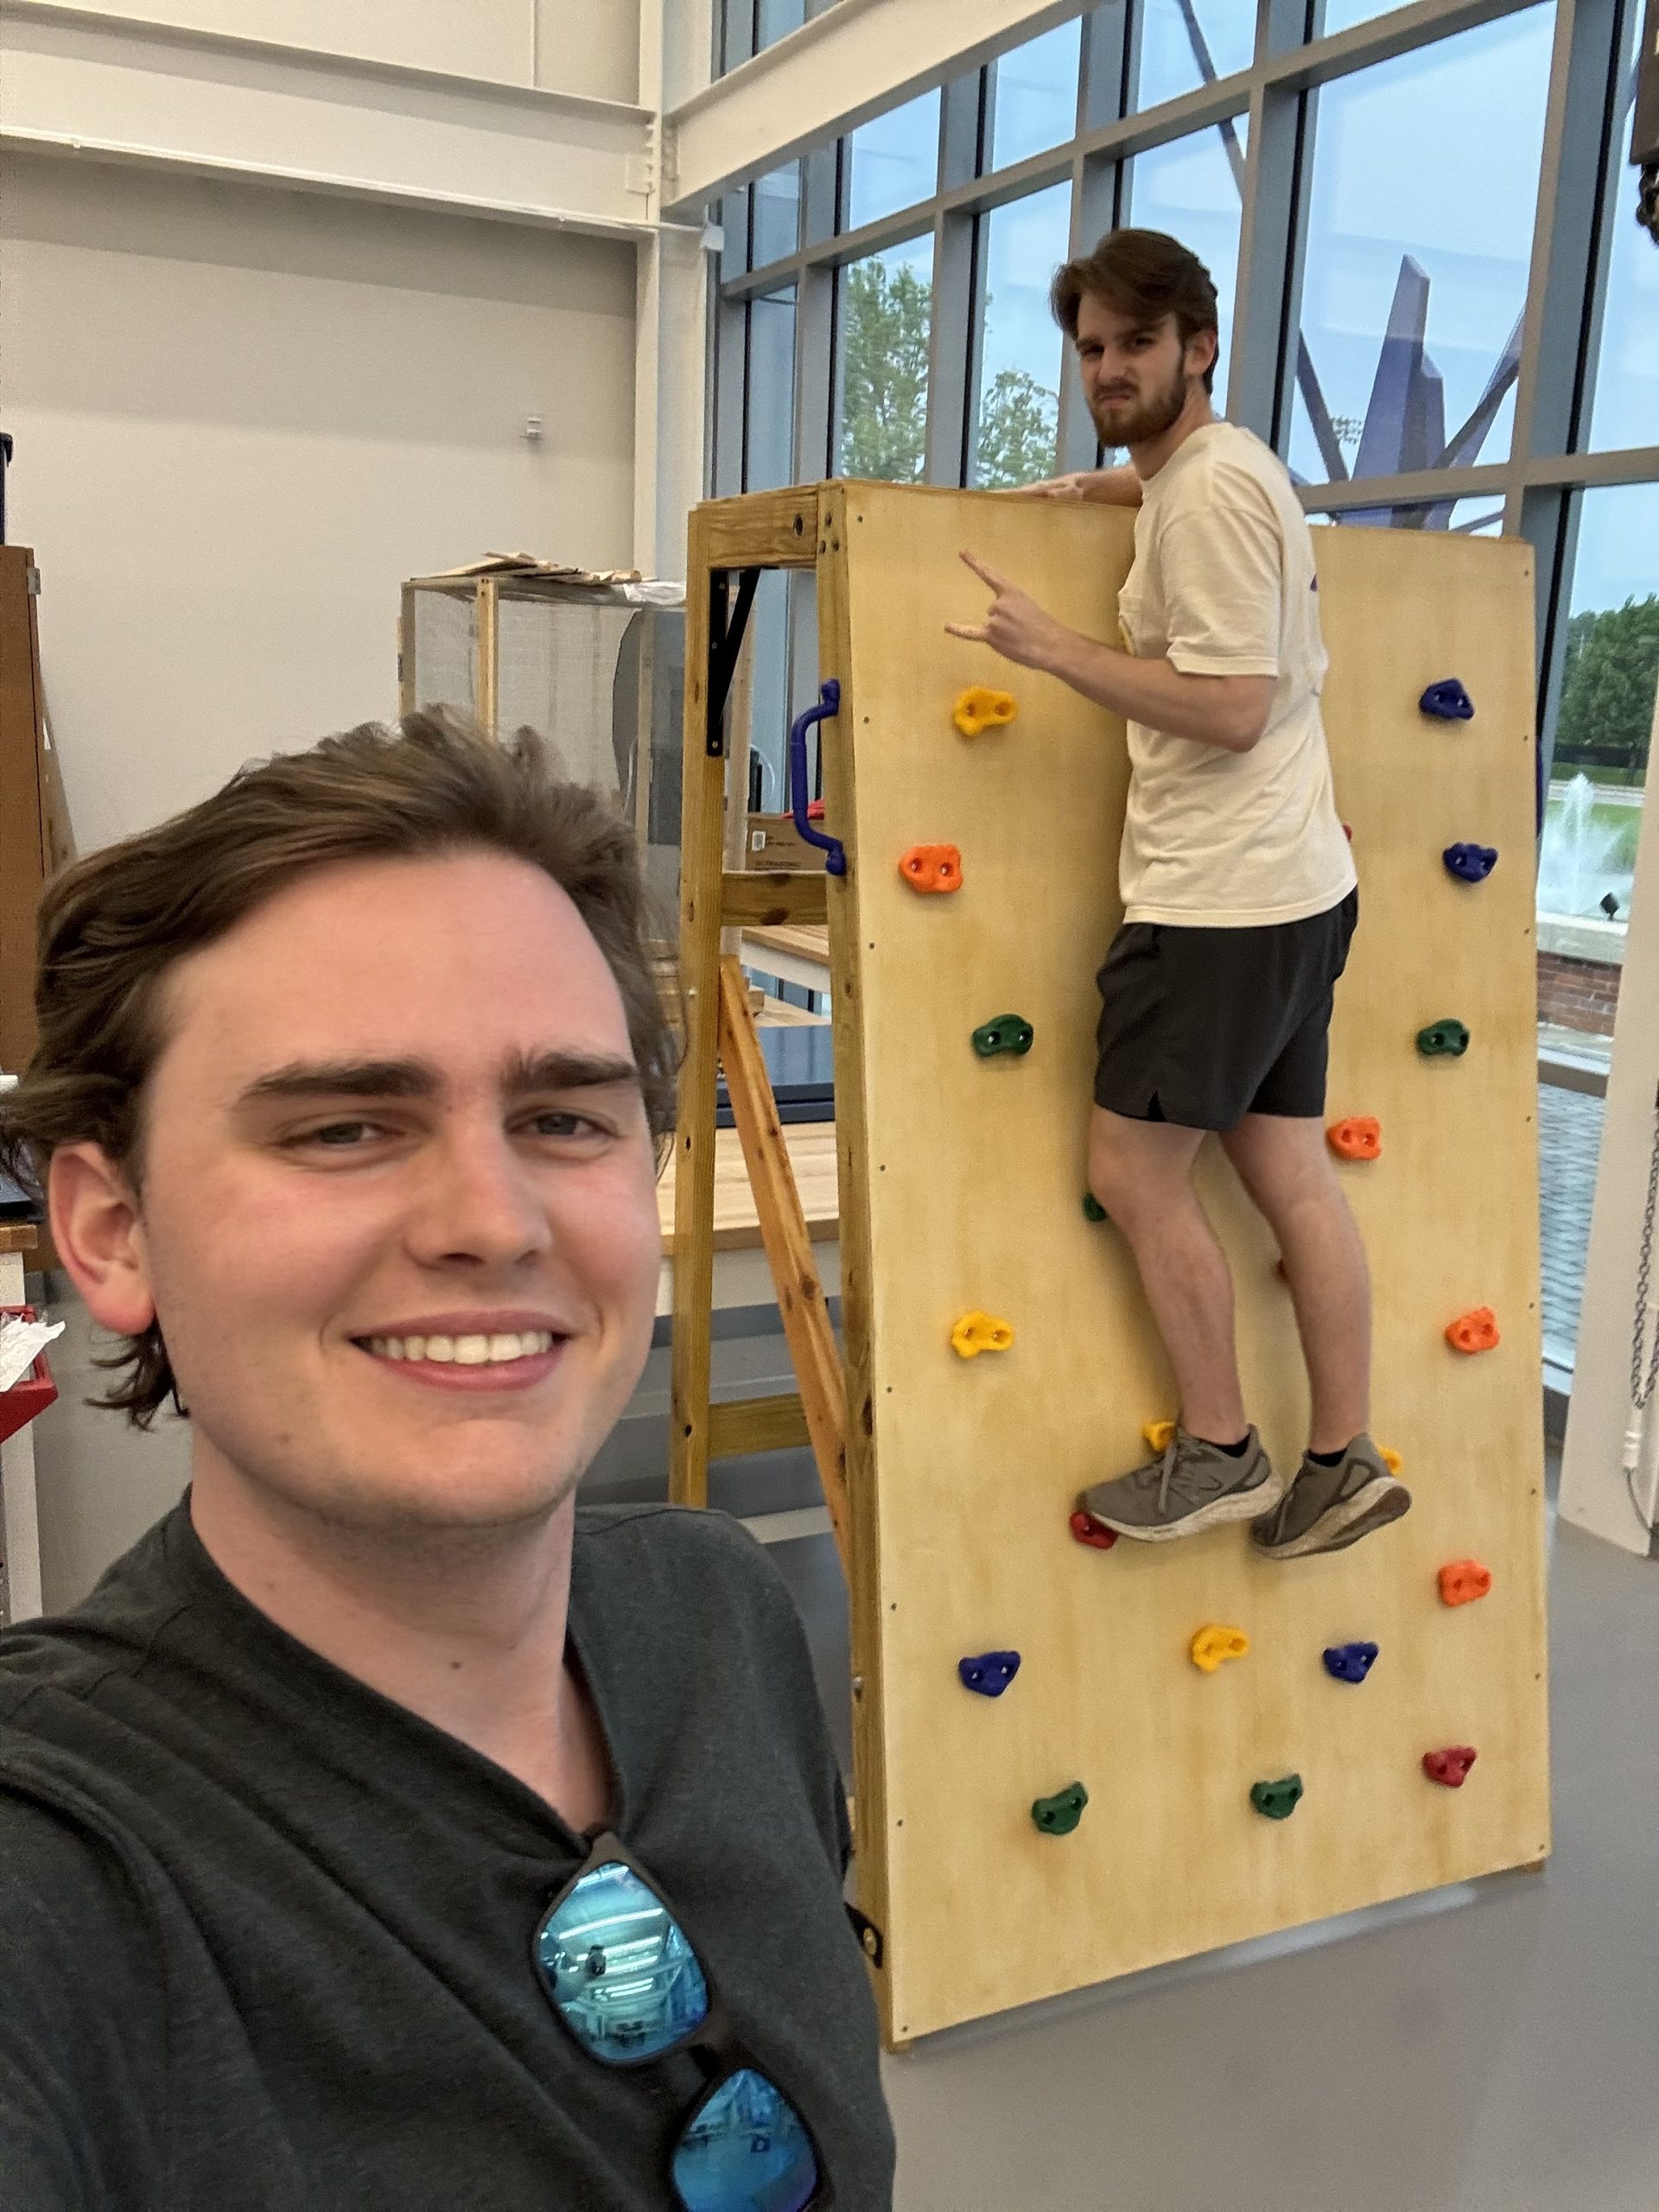
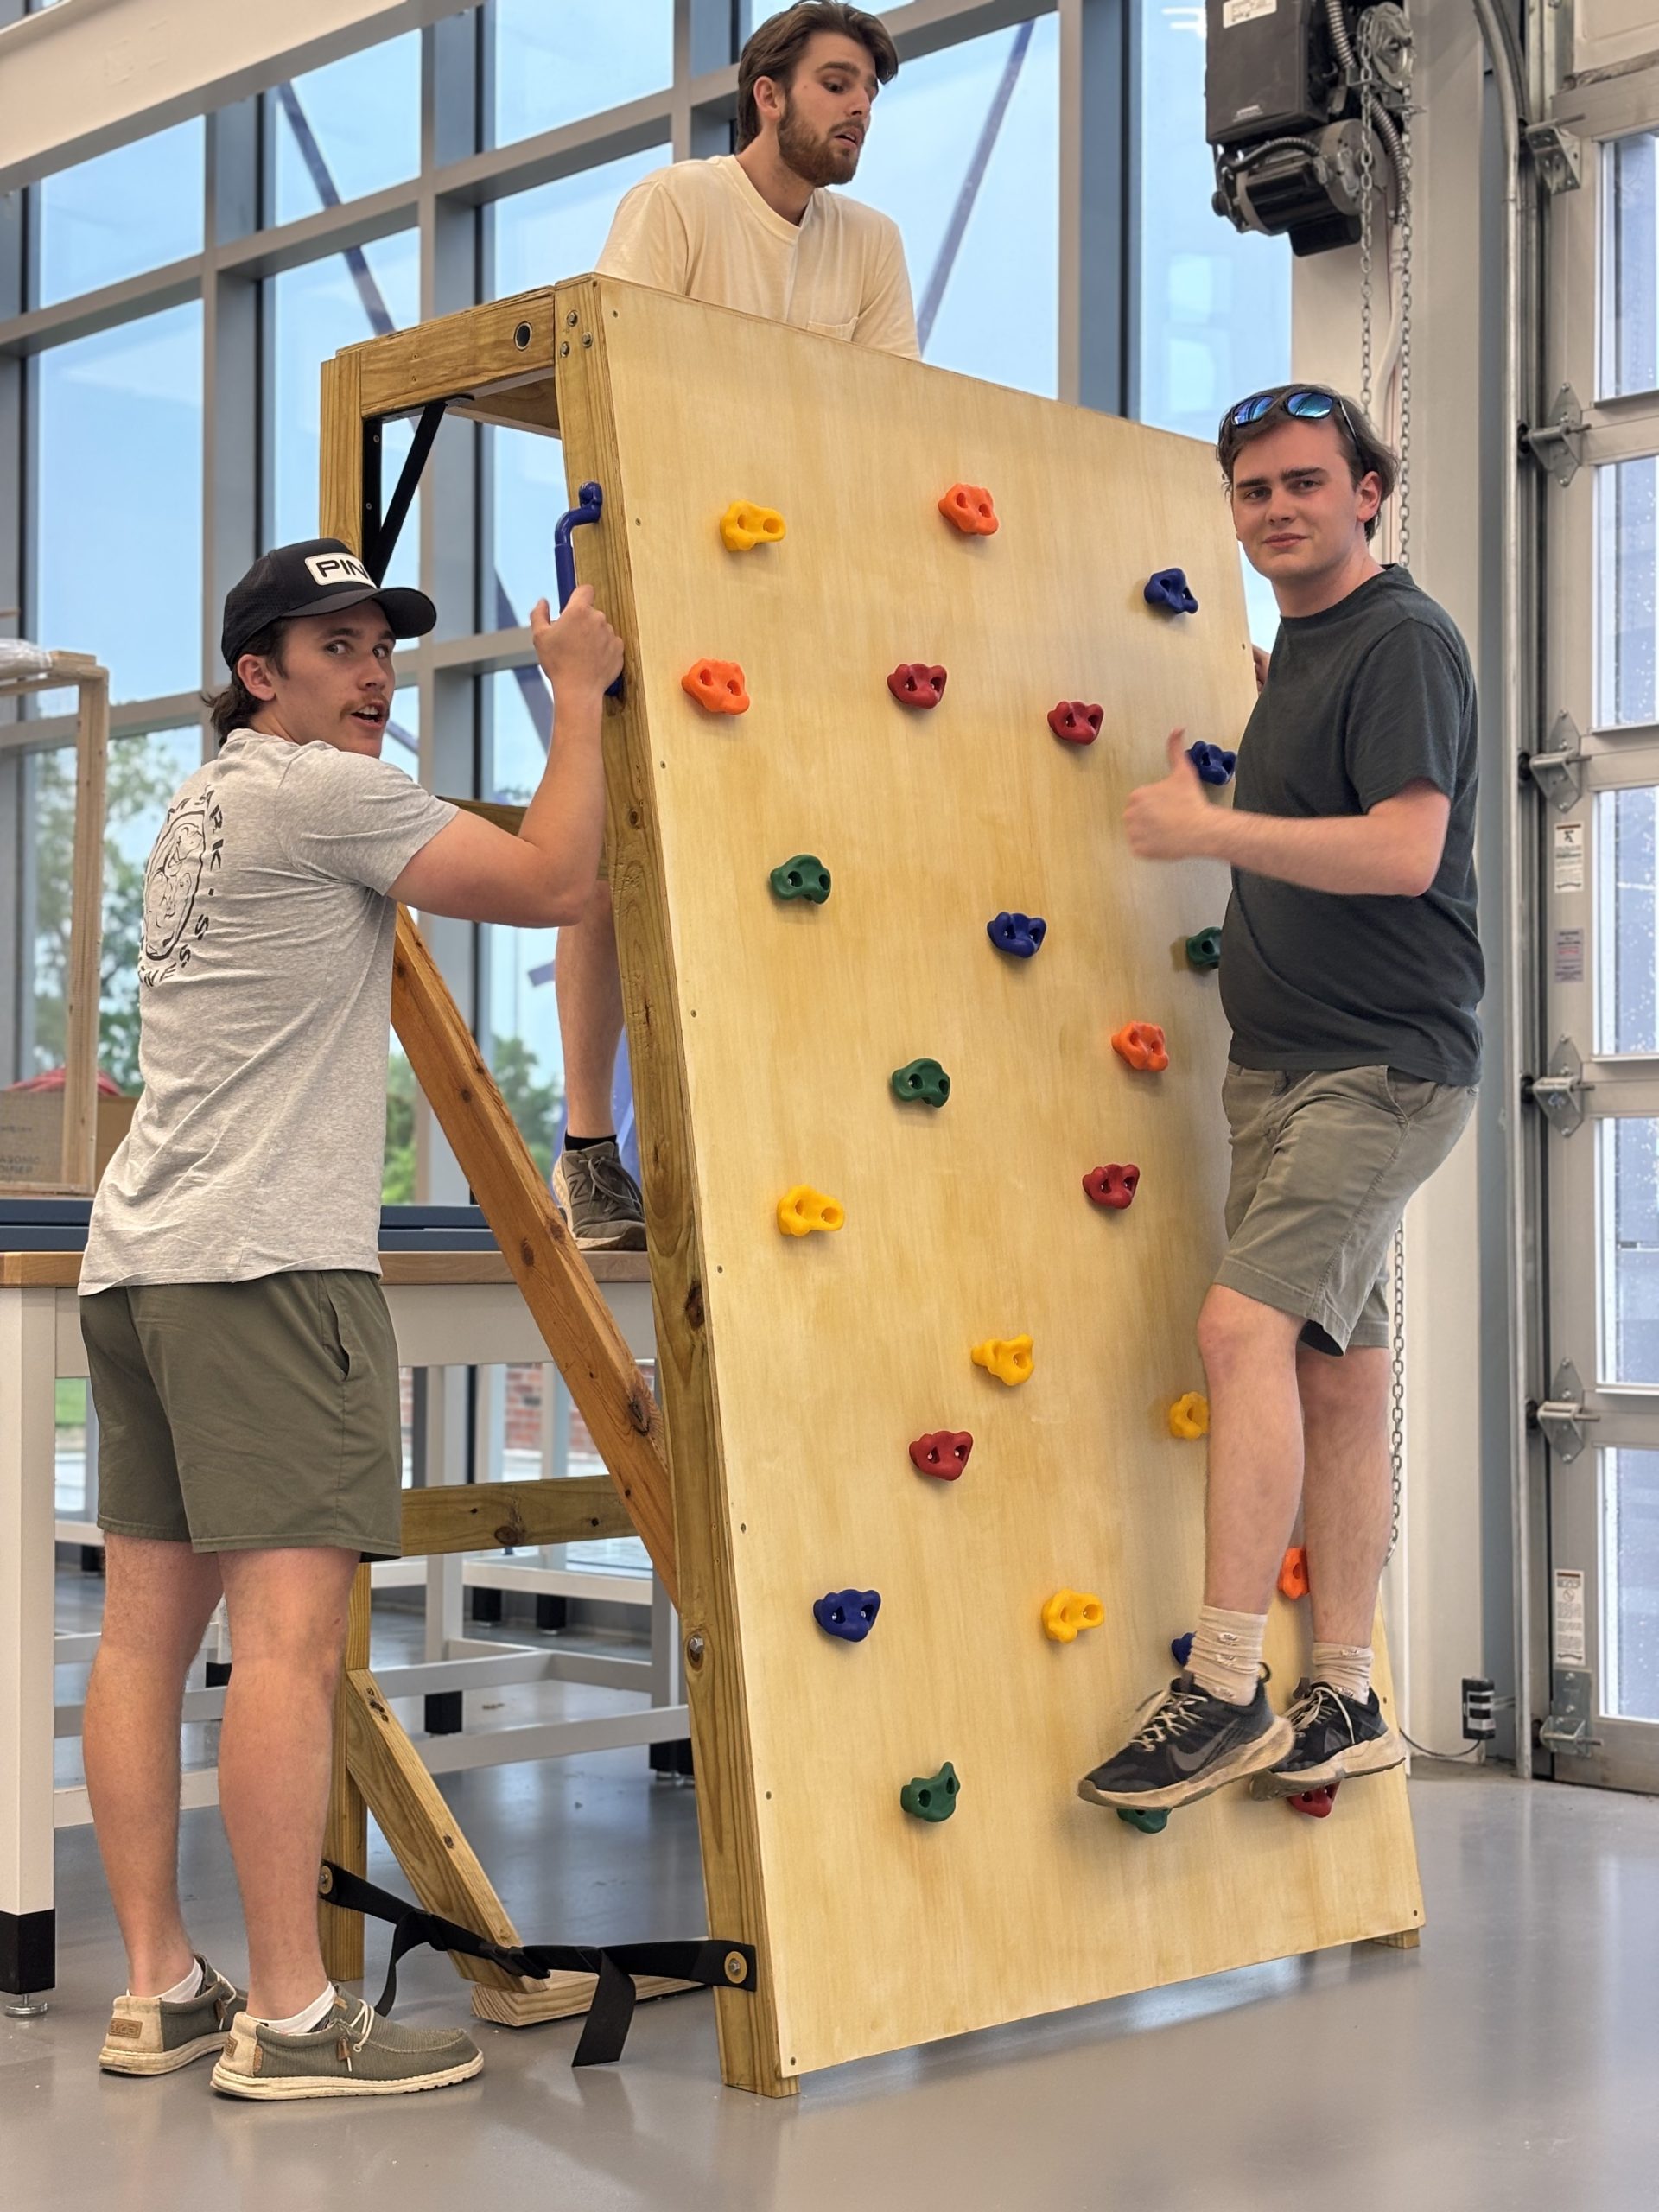
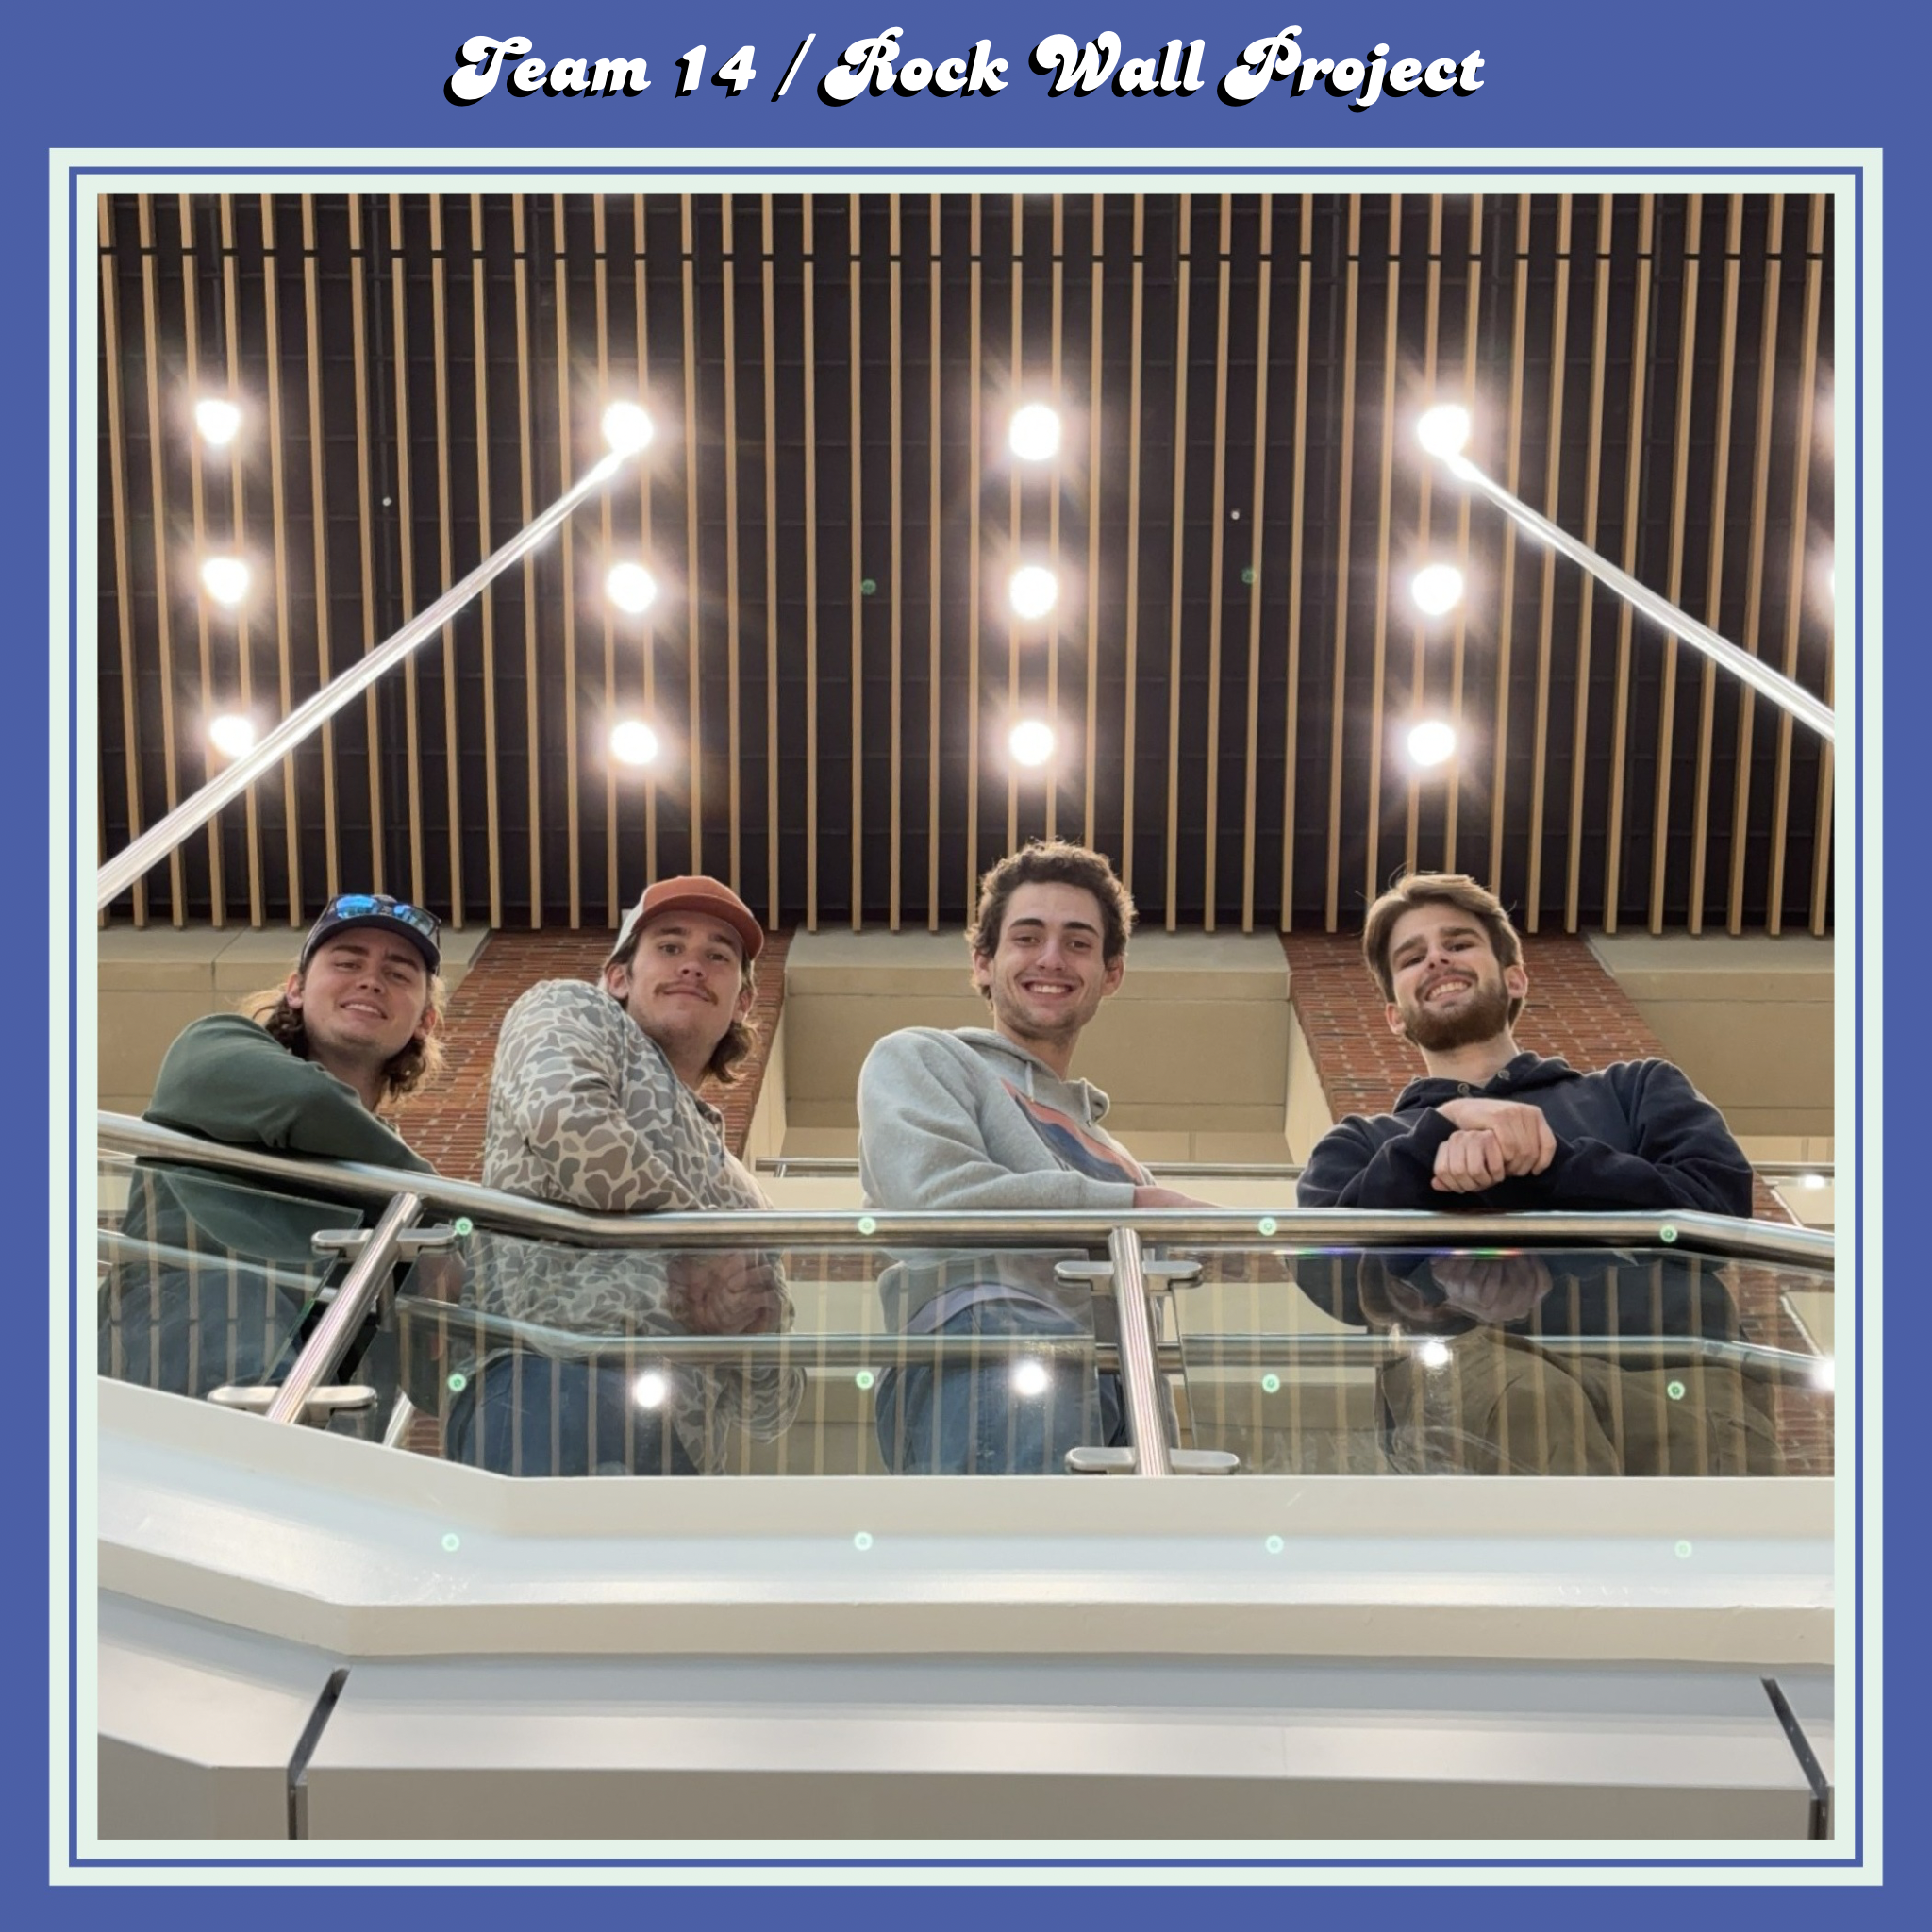
The Rock Wall Project is a design project whose goal is to build a rock wall as an exercise tool for a young child diagnosed with autism. To meet his and his family’s needs, we are planning to construct a rock wall small enough to be used inside the home with a crashpad for jumping off the wall from a small height, and patches of modular sensory materials to appeal to his sense of touch. The rock wall will be built in stages such that it can be taken apart and used both inside and outside the home.
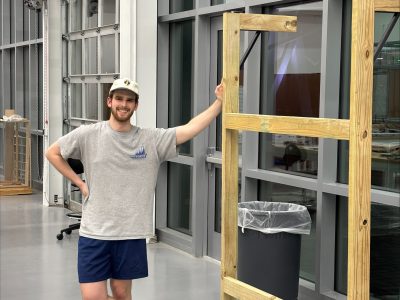
John Adams, Eli Wilson, Nathan Spann, and Simon Greineder (Kimberly Albrecht – not photographed)
Problem Statement
We are tasked with designing a rock wall for a 3-year-old boy named Arthur. Arthur has high sensory needs and loves to jump and climb. We aim to make a portable rock wall for Arthur to climb and jump off of. The rock wall needs to fulfill his sensory needs and be useable as he grows up.
Design Specifications
Size—The rock wall must be portable, small enough to fit in a truck bed, and large enough to be used as the child grows older. It will be set up in the living room with about 8 ft tall ceilings.
Features – A large crash pad is necessary as the child loves to leap off tall platforms. It must be removable from the rock wall so the family can use it for multiple purposes. Some sort of sensory stimulus needs to be included on the wall.
Material – The rock wall can be made with any material, we will use wood. However, the crash pad must be made with microfleece for sensory purposes.
Weight – The rock wall must be able to hold up to 50 lbs to use at the moment, but the goal is for it to hold up to 200 lbs – 250 lbs so the child can use it as he gets older.
Background Research
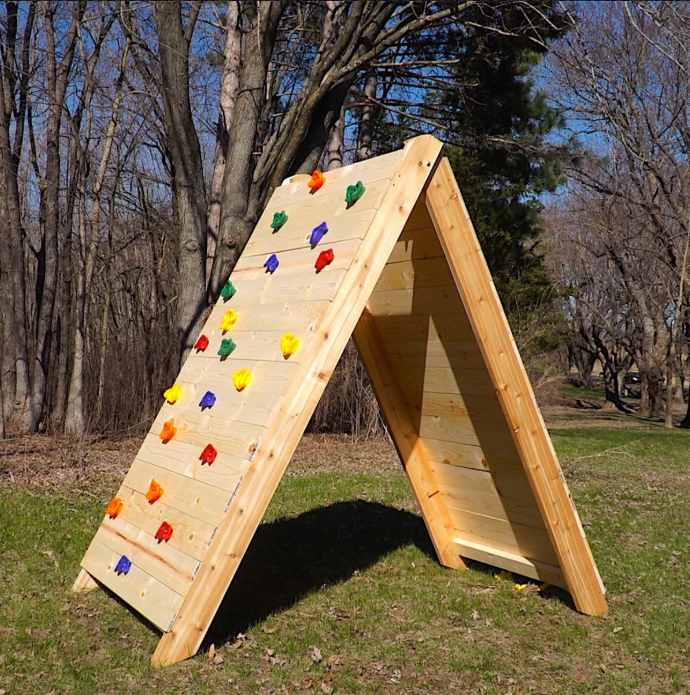
We first started by looking at past projects where a rock wall was incorporated into an outdoor playset. A photo used for inspiration by Group 4 (Fall 2024) proved valuable to us as well. We liked the angled climbing surface and the construction methods used to build it. Since the wall needs to be indoors, we are going to make the back support piece vertical instead of angled, but keep most of the design very similar to this image.
Concept Design 1
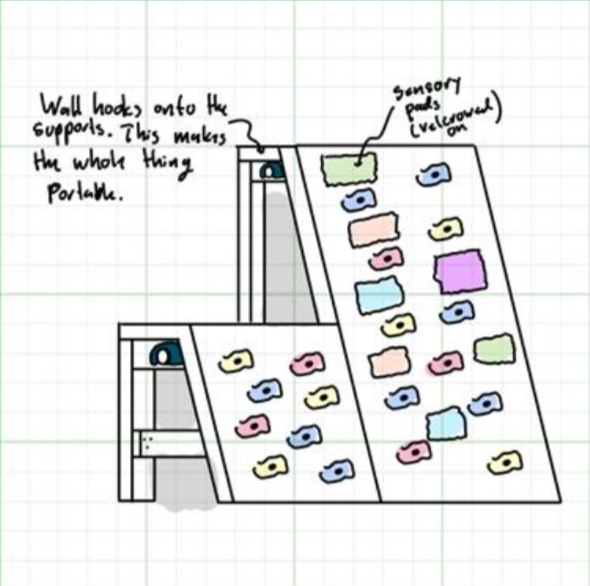
This design allows the rock wall to be disassembled with ease. There are back panels with a metal rod running through the tops of them. The portion of the rock wall with foot holds has hooks that can latch around the metal rod, connecting the pieces. A smaller rock wall is added to the side either connected to the larger wall or separate. The smaller wall has a large platform at the top of it for the child to stand or sit on. The platform allows the child to leap off of a flat surface instead of simply jumping from the wall. Textured sensory pads made of specific fabrics are attached to the wall, so the child can touch them as they climb. The pads will be attached with velcro, so the family can swap them out for more desired textures as the child changes his preferences.
Concept Design 2
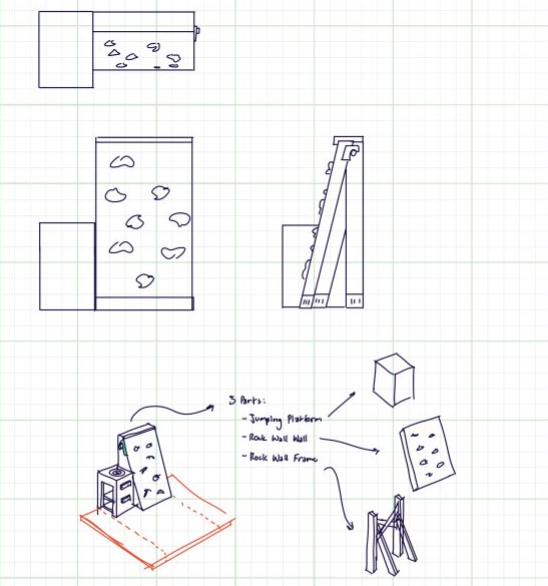
This design is modular in that it can be used with or without the crash pad and raised landing. The rock wall itself is entirely detachable from the frame, which means it can be transported easily using built in handles on the sides. The raised landing functions both as a spot to jump from and a storage area for other toys Arthur owns. The crash pad around the two structures will be extra thick for cushioning the fall and will be free floating from the rest of the structure. The total structure will be lined with a plastic base to protect the carpet from the rough wood. This design will also incorporate a full wall of sensory materials to give Arthur something smooth to feel as he climbs.
Concept Design 3
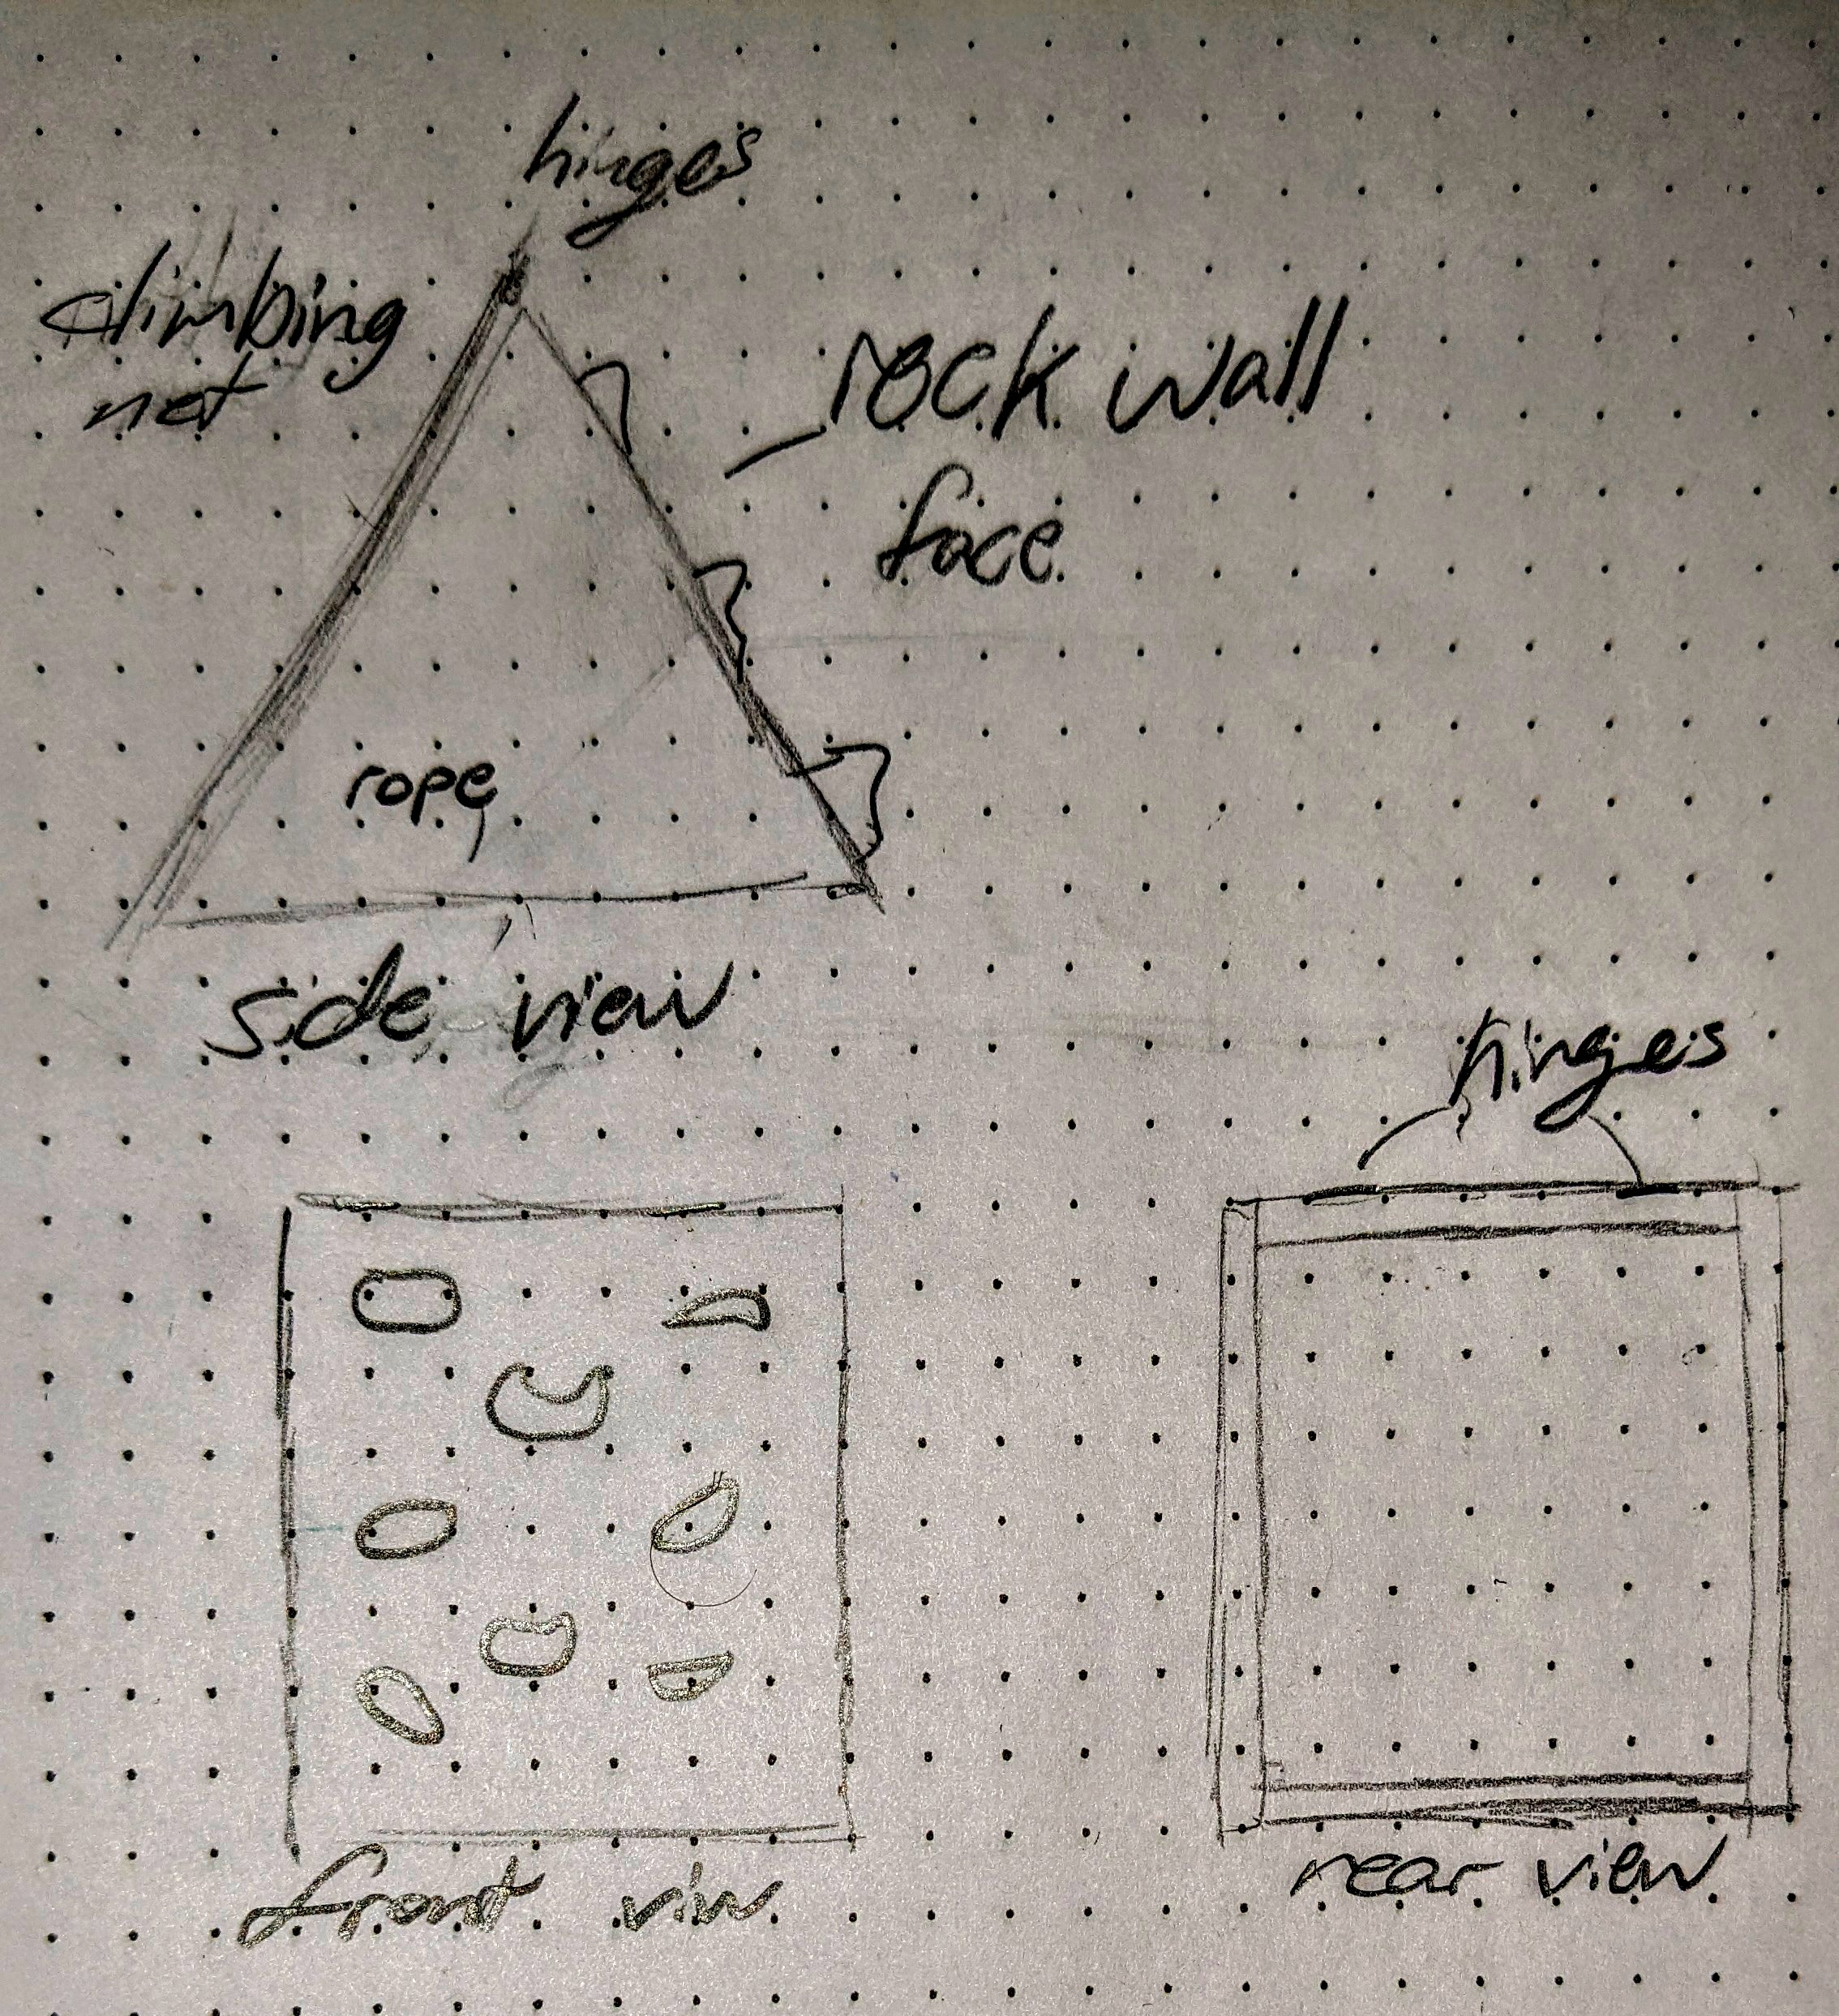
The design shown here depicts a freestanding, foldable rock wall for ease of transportation and storage. With a rock wall face on one side and a climbing net on the other, giving the child variety. The rock wall would be made of wood with commercially available holds. The frame for the climbing net would also be made of wood. A rope connects each side at the base of the structure to prevent the base slipping under the child’s weight. Hinges would connect the structure at the top. In summary, this concept design would provide the family with a lightweight option that would easily be stored.
Selected Concept Design
Based on our decision matrix, Concept 2 seems to be the best design. As you can see from our drawings, Concepts 1 and 2 are very similar. The only difference is the secondary box or rock wall the child will stand on or jump from. We believe Concept 2’s box design is better than the additional rock wall in Concept 1. Having a box rather than an extra wall reduces costs, allows for storage underneath, and gives a better platform for the child to jump from without the risk of hitting the wall.
Decision Matrix
Overview of Selected Design
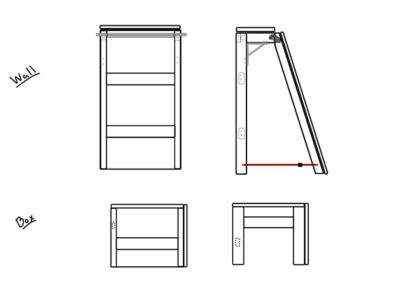
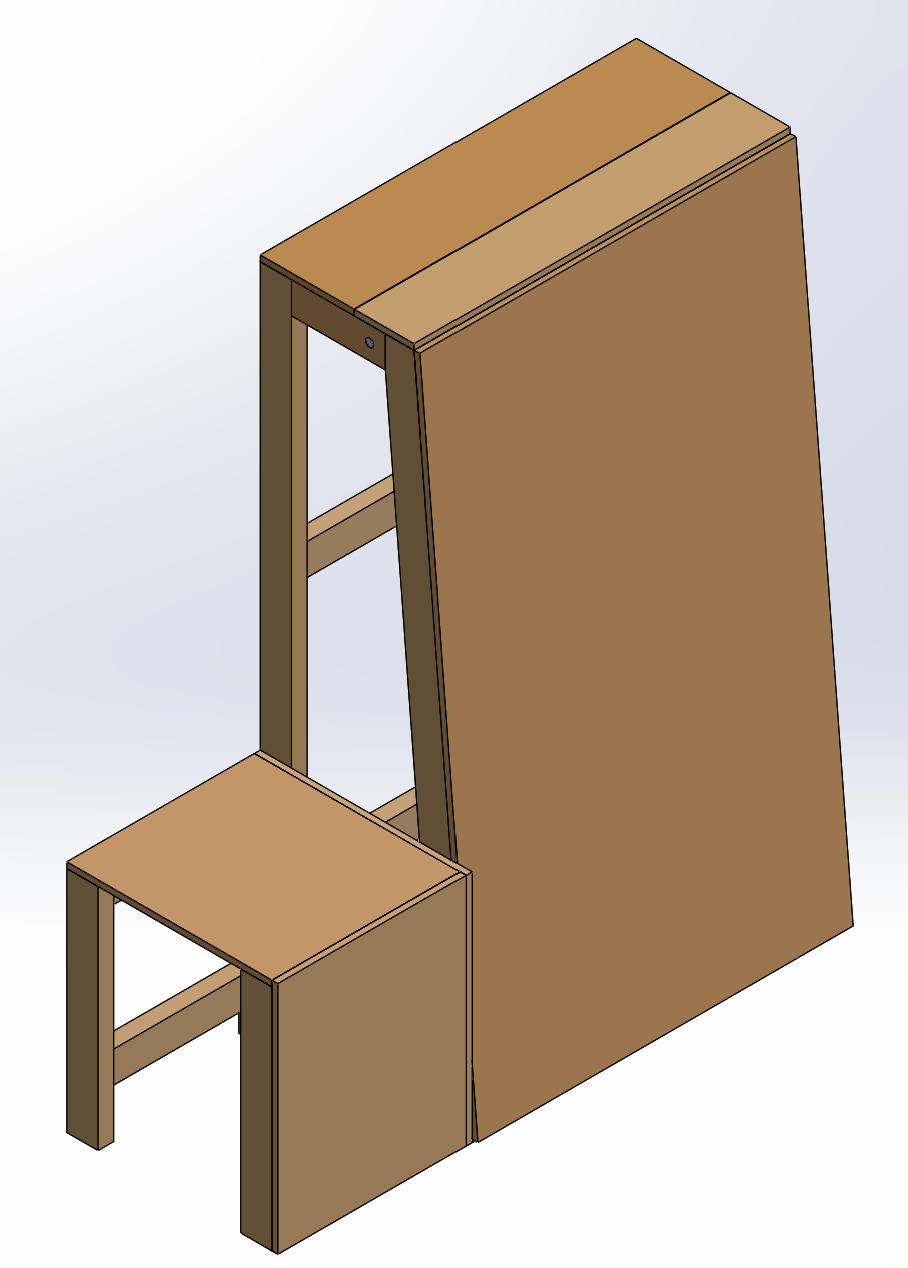
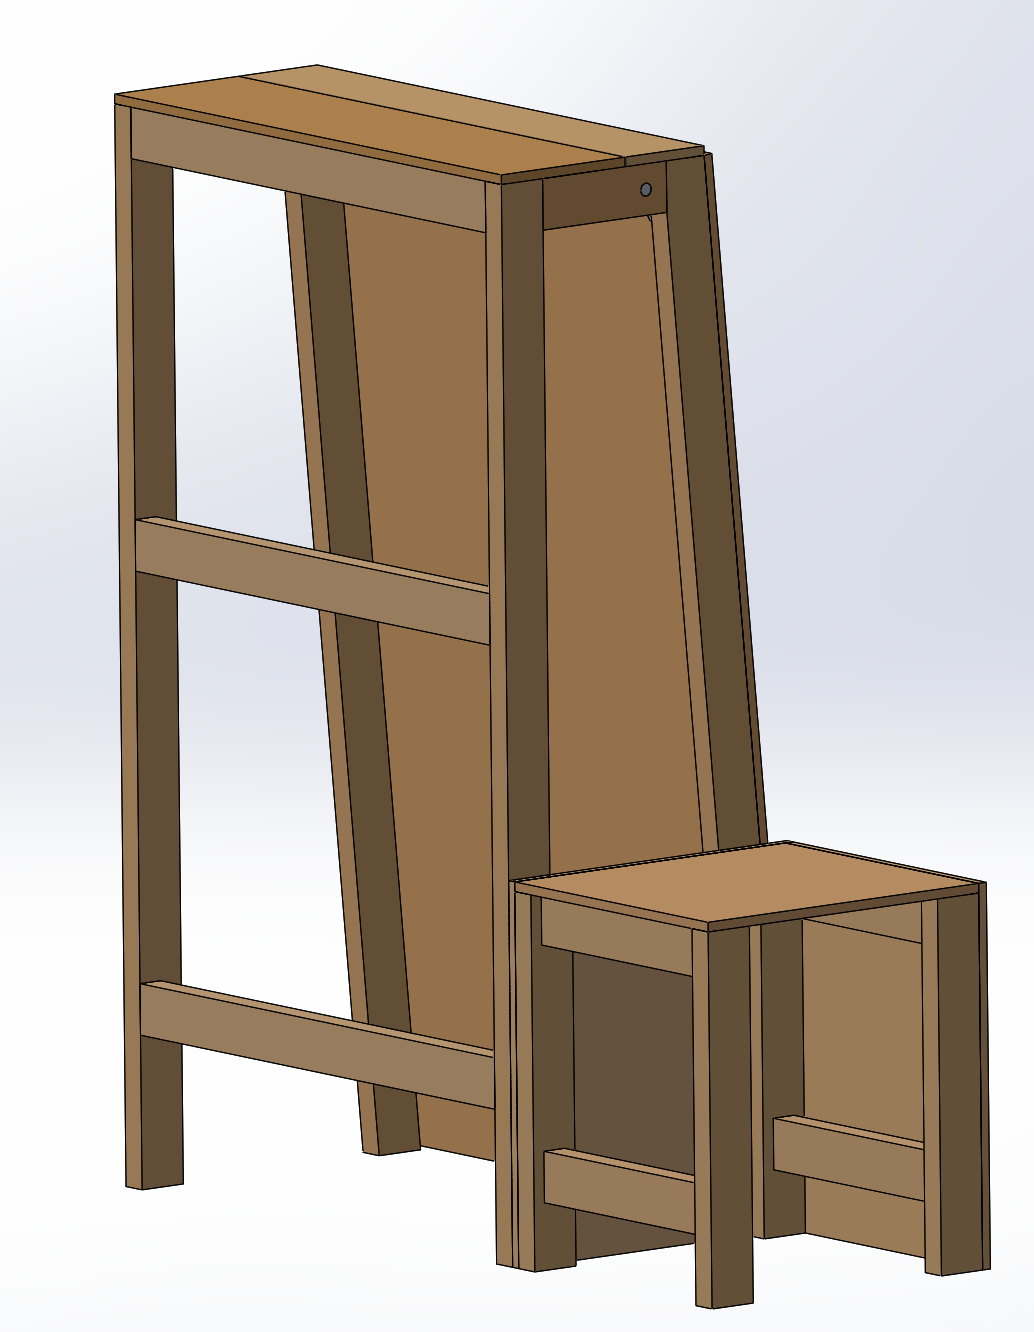
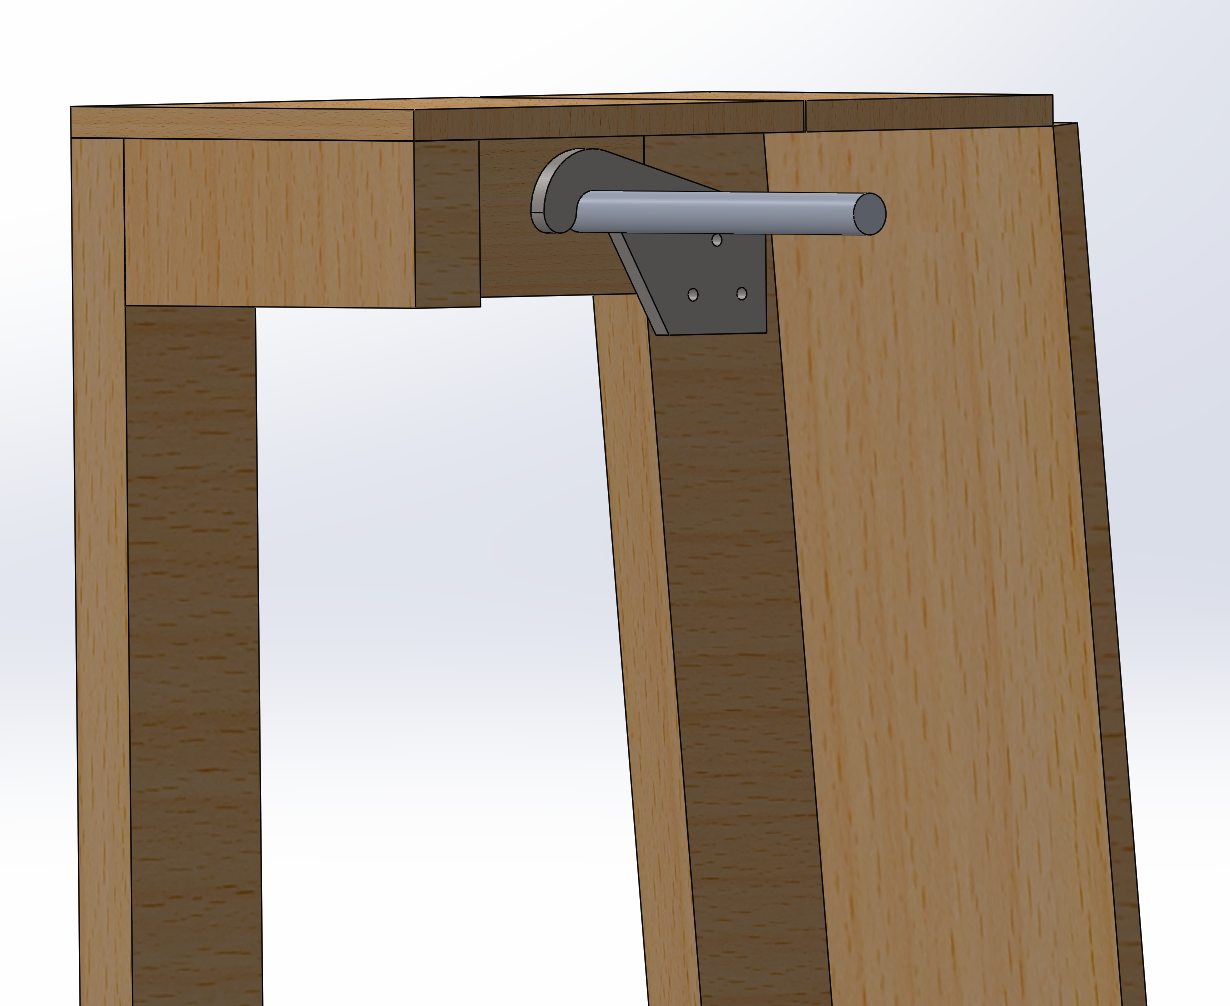
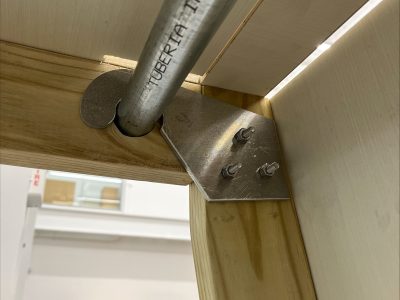
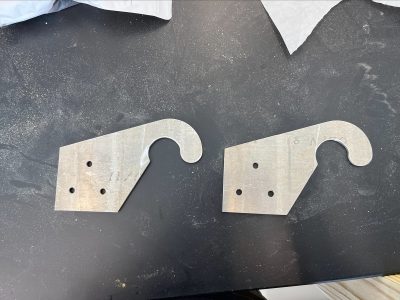
Our final design will closely match Concept Design 2. We will have a back frame made of 2x4s with another set of 2x4s connected at the top at 90 degrees using a mortise and tenon joint. 90-degree metal shelf brackets will be used to support the vertical load felt by the 2x4s. A metal pipe will be inserted through the top to allow the climbing wall to connect to the frame. The climbing wall will be fitted with custom hooks that can latch around the pipe connecting the system. Finally, a strap and buckle will be used at the bottom of the frame to prevent the climbing wall from moving if any unexpected forces were to act on the wall.
The box is made out of plywood and 2x4s and acts as a platform for the child to jump from. We are leaving one side open so the family can store items in it if they wish to do so.
Describe Design Details
Frame:
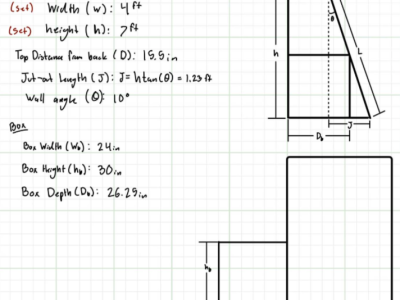
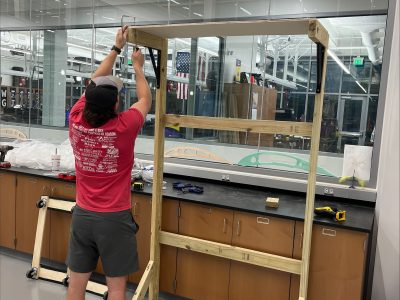
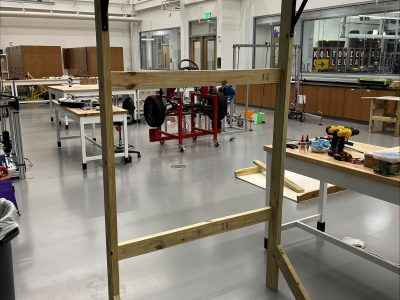
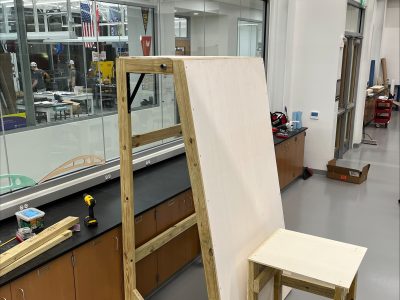
The frame is 7 ft tall and 4 ft wide. It is constructed out of 2x4s with two horizontal supports on the back. Two 1 ft long 2x4s are attached to the top of the frame using a mortise and tenon joint and are supported with a shelf bracket to increase strength. A 1-inch-diameter metal pipe, 4 ft long, is inserted through the ends of the 1 ft long 2x4s for the climbing wall to attach to. Finally, a small piece of plywood is added to cover the top of the frame.
Climbing Wall:
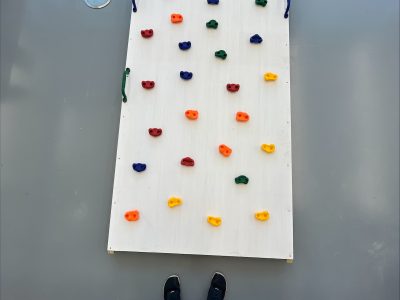
The climbing wall is constructed out of 2x4s and plywood. The plywood sheet is ¾ in thick, 4 ft wide, and just over 7 ft long. It is built 10 degrees away from the vertical.
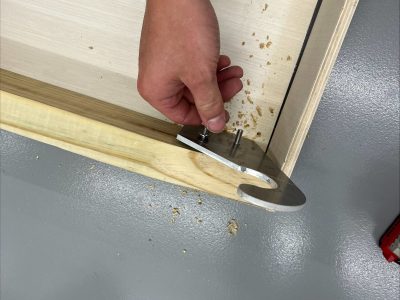
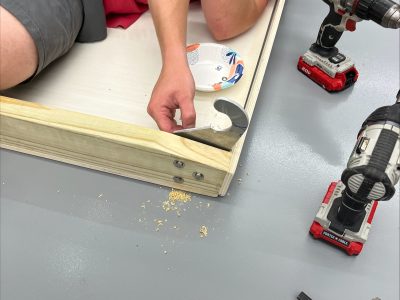
The 2×4’s ends are cut so they can sit flush with the floor and match smoothly with the top. Metal hooks are attached to the inside face of the 2x4s to latch the wall to the metal pipe. This is done to make the rock wall portable. Two straps and buckles are used at the bottom to prevent the climbing wall from moving away from the frame when the child puts an outward force on the wall. Finally, another piece of ¾ in plywood is added to the top of the climbing wall to close off the top.
Box:
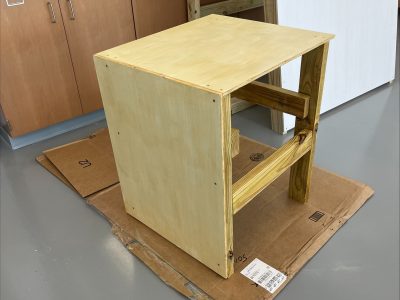
The box is also made from 2x4s and ¾ in plywood. Its dimensions are 26.25 in x 24 in x 30 in. A piece of plywood is added to the top for the child to stand on, a second piece is added to the front for visuals, and a third piece is added to the side to prevent stored items from going underneath the climbing wall.
Engineering Analysis 1
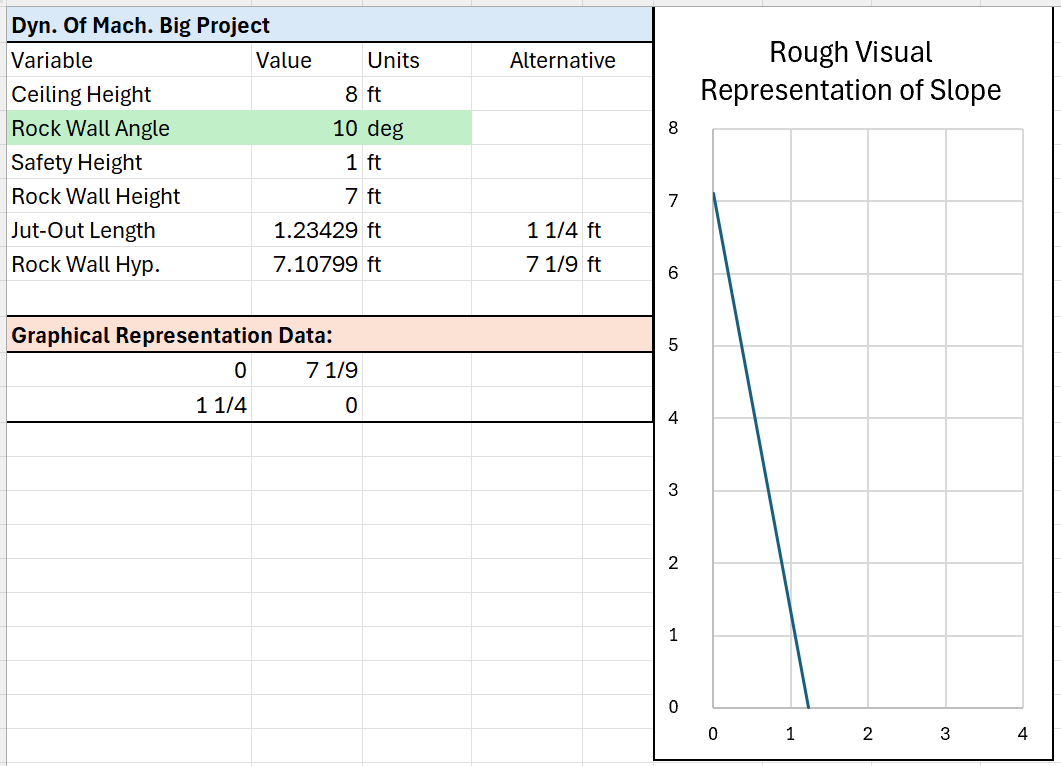
We created this design tool to help us accurately visualize the rock wall as we changed its angle. It also performs calculations for how far the rock wall juts out from the frame at various angles given a maximum height. By limiting the graph’s x and y range, we were able to create an almost-square grid which gave us a reasonably accurate depiction of the rock wall angle. This helped us visualize the project while early into our design work.
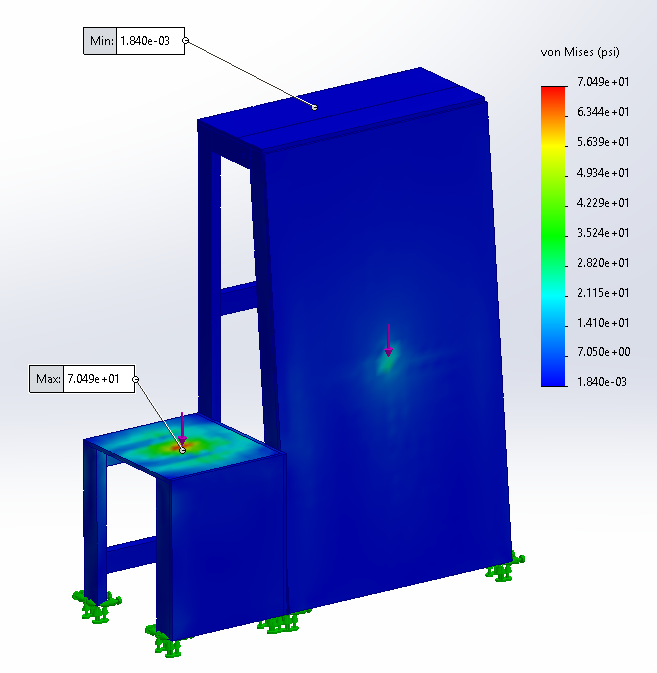
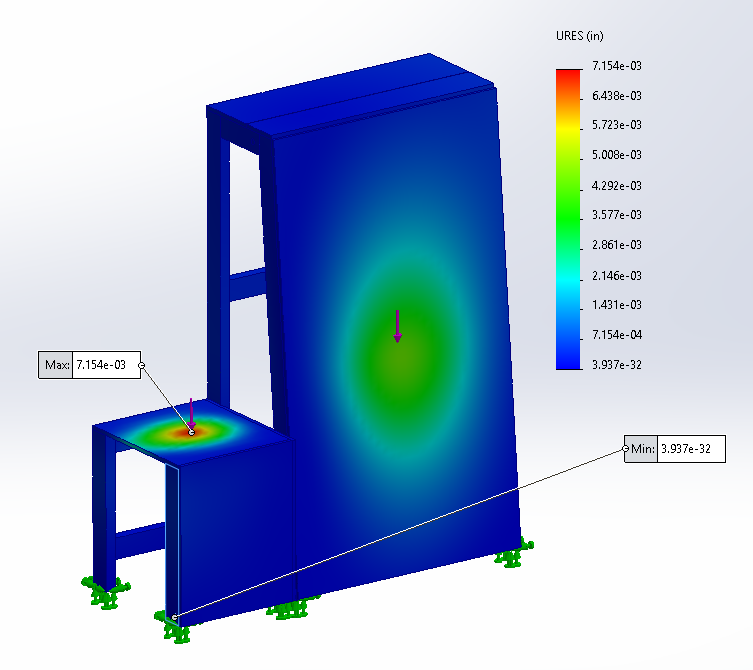
Modelling the structure in SolidWorks, we used the on-board Finite Element Analysis tools to determine the stress and displacement of two points loads on the rock wall and jumping platform. Estimating the young child to be around 30 pounds, we performed analysis using 50-pound forces. This provides us a reasonably large buffer zone. Regardless, both the displacement and von Mises stresses due to these forces are minute.
Engineering Analysis 3
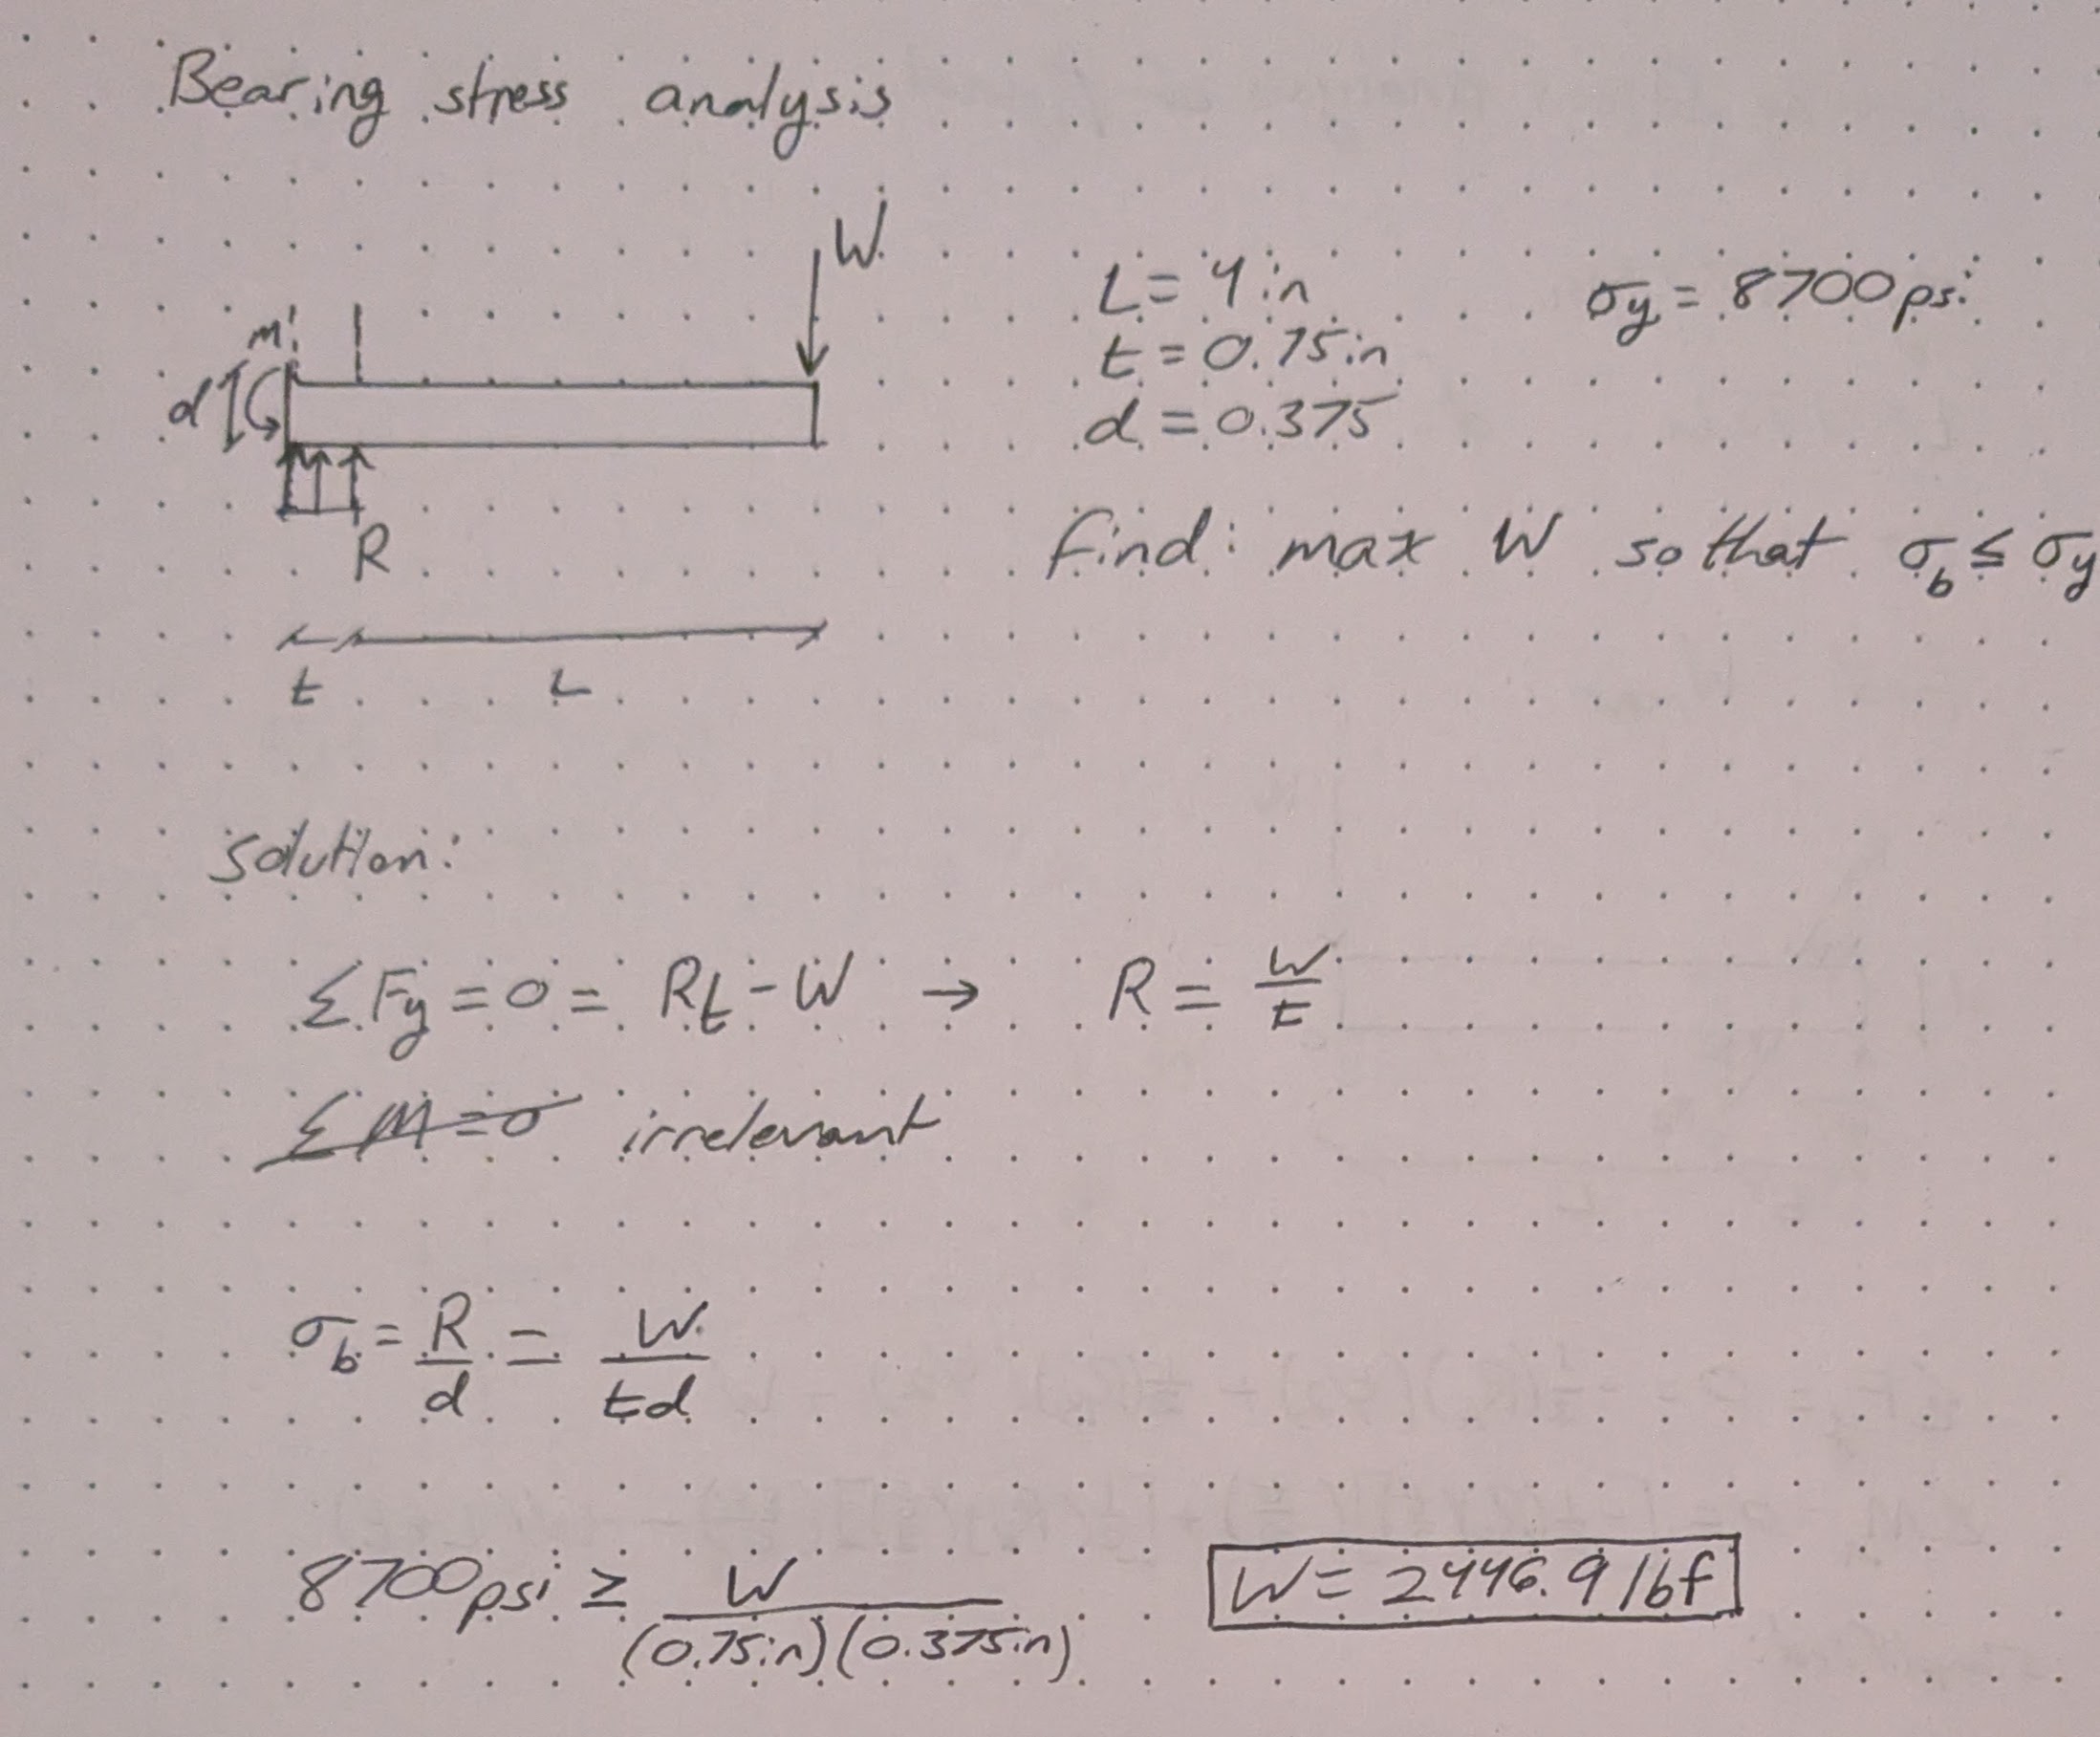
The attached image shows the calculations for bearing stress on the wooden plane when under loading. The maximum load the wood can tolerate from one bolt is shown. For this calculation, values of 0.75 in., 4 in., and 0.375 in. were used for the thickness of the plywood sheet, the distance to the load, and the diameter of the bolt, respectively. Additionally, the yield strength of mahogany, 8700 psi, was used as it is the lowest strength of any commonly used hardwood in plywood. The plywood can withstand a force of over 2400 pounds before failure, which is much more than a four year old child can exert on the rock wall.
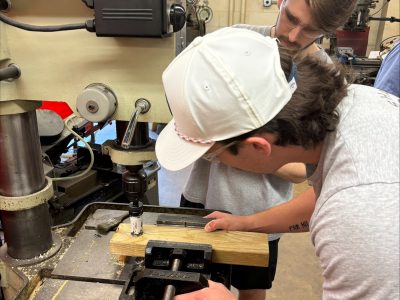
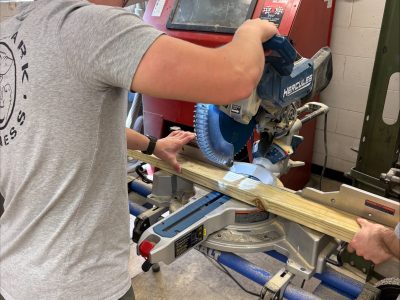
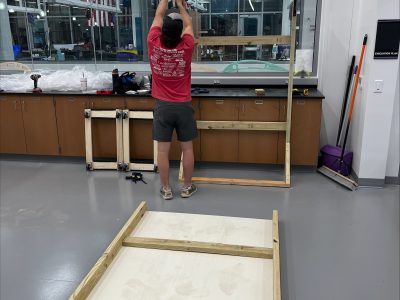
The rock wall was constructed using various tools, such as a miter saw, table saw, drill press, water jet, vertical mill, and drop saw.
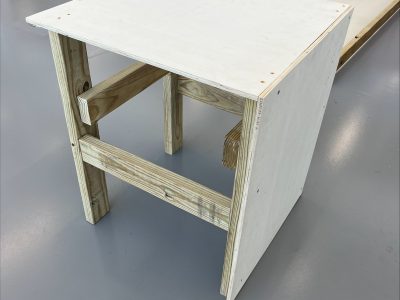
We began by building the side box, as that was a separate piece that sits beside the rock wall. We ran into an issue when building the box. The plywood that sits on the top of the box was warped, causing one leg to be raised, making the box wobble. We fixed this by cutting down that leg and epoxying scrap plywood to the bottom. The box no longer wobbled and became very sturdy.
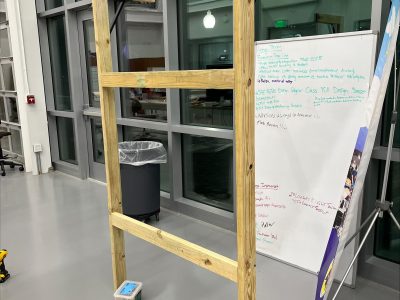
To construct the back frame of the rock wall, we used 3 1/2″ deck screws to attach the 2x4s. We used shelf brackets to support the weight of the rock wall on the frame. Feet were added to the base to support more weight.
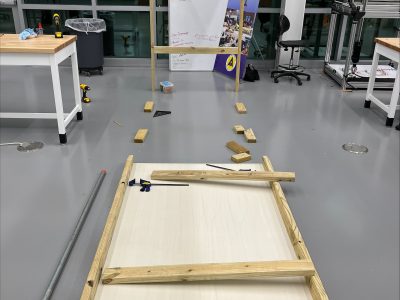
Finally, to construct the climbing portion of the rock wall, we attached two 2x4s to the backside edges of the plywood with two horizontal supports on the back. We then attached the footholds using the provided bolts in the kit we ordered.
We stained the rock wall with Winmax Polyshade, which is a mix of polyurethane and oil-based wood stain. Doing so provides a weatherproof layer on the wood and prevents splintering.
Testing Results
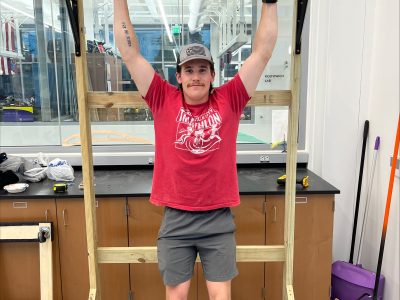
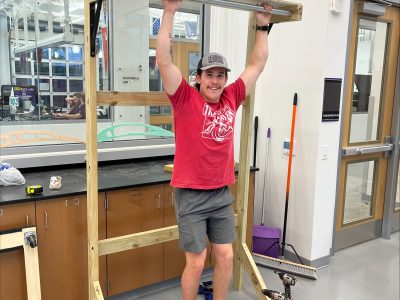
The freestanding structure was able to hold the full weight of any team member who hung from it.
Initially, an individual hanging off the rock wall with a center of mass relatively far from the surface could unhook the wall and cause it to begin to fall. This was corrected by making the support structure more level to prevent the hook from coming undone. However, misuse could cause this to fail, so a piece of wood has been included which attached the wall the the support structure with bolt, mitigating the issue entirely.
While a single child’s weight will not cause the entire structure to overturn (as this did not occur with our testing of around 200lbs), to prevent this from happening due to misuse, we have include a way for the rock wall to attach to studs in the wall.
With these improvements, we are confident that the rock wall we have constructed will be safe for use by the child for many years
Completed Design Photos
Instructions for Safe Use
Setup:
Attach support structure firmly to wall studs
Ensure metal hooks at top of rock wall are hooked onto the metal pipe.
Bolt brace to both supporting structure and rock wall face
Connect buckles at base of wall
Ensure crash pad is directly in front of wall and box
Tighten holds as needed
Use:
Only 1 individual on the wall or box at a time
No climbing onto top of supporting structure
Wear close toed shoes while using rock wall
Project Summary/Reflection
This project has been an incredible experience for all team members involved. We were able to design and construct a rock wall to fit the client’s needs and preferences. The child likes certain textures, so we added swappable textured pads to the surface of the box. He also loves the movie “Cars”, so we will give him a “Cars” themed bed sheet to place over the crash pad. We purposely left underneath the rock wall empty so that he could build forts there. All in all, this project was an excellent experience in balancing time and money spent between engineering and safety requirements and things that will make the consumer happy and excited to use our product.