Spring 2026 Project 14: Sensory Toy 1 for High School
Abstract
The goal of this project is to design a sensory room for high school students, providing various kinds of stimulation.
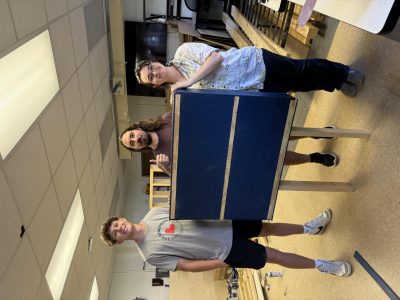
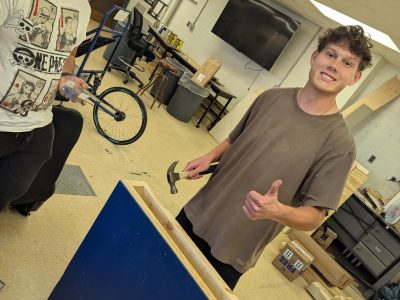
Jacob Merritt (Left), Alexi Freemon (Middle), and Ezekiel Cortez (Right)
Problem Statement
The first sensory board will be designed to allow the students to engage with an array of sensory items. These sensory items span the spectrum of auditory, tactile, and visual. The individual panels will be multipurposed, where they can be detached and used as a “mobile” sensory toy. Along with this, the board will create a safe environment where the students can work on motor function, problem-solving, and valid sensory stimulation. To add another layer of immersion, the sensory board will be themed around the Avatar movie. The main reason for this theme is to highlight the fiber optic tree that is another installation of this project.
Design Specifications
The sensory board shall measure 36 in × 30 in and support eight interchangeable 12 in × 13 in activity panels. The system shall be wall-mounted to a CMU wall using 3/8 in masonry anchors with a minimum safety factor of 3 against pullout and tipping loads. Panels shall slide into tracks with a maximum required insertion force of 2 lb. All materials shall be durable, rounded, and safe for interaction by high-school students in a special-needs environment. The board must also be themed around the Avatar movie.
Background Research
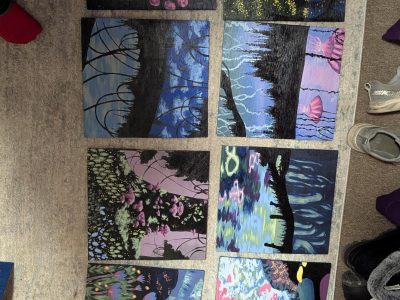
We researched sensory boards to understand the general material and process, types of engagement, and size requirements for this task. We concluded we would want to do a more inclusive design process to idealize the project and its parameters. References like the one below were used as brainstorming and inspiration for a more age appropriate sensory board for the high school students.
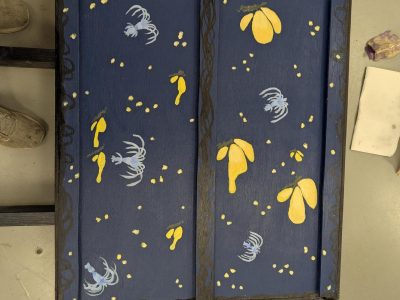
The theme for this project is the Avatar movie. This theme stemmed from the desire to highlight the fiber optic tree as the main attraction in the room. This will provide a low-light but visually stimulating environment. The rest of the room will embody a nature theme that fits the color scheme.
Concept Design 1
The first concept design is a big sensory board with removable panels. These panels can be added to the board with pegs attached to the back, allowing it to be placed where the user desires. There will be multiple holes drilled into the back of the sensory board, all of equal distance.
Concept Design 2
The second design concept is to allow the panels to be added and removed from the sensory board frame with Velcro. This would hold each individual panel to the board with industrial-grade Velcro. This still allows for the user to have free range of where they would like to place their panels on the sensory board.
Concept Design 3
The final idea would be to have the individual panels slide in and out of a large sensory board frame. This is similar to a drawer mechanism. This does limit the amount of flexibility on location of panels compared to the first two concepts, but it ensures more stability in the panels being put up on the board.
Selected Concept Design
The sliding design was chosen for simplicity and manufacturing ease. It will exhibit the most efficient ability.
Decision Matrix
Overview of Selected Design
Panels:
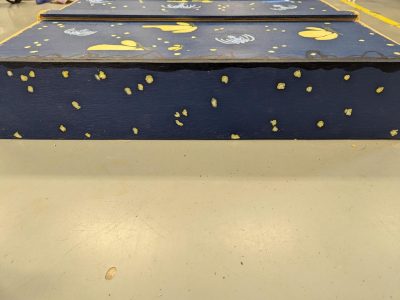
Raised platform to allow a smoother transition in the board
Slick tape on the top and bottom groove in the board to help facilitate movement
Side Doors:
270 deg hinge on the doors
Velcro attached to keep the door open
Lock on either door to restrict access if needed
Misc:
Will be raised in the air with some pillars
Mounted in the wall to prevent any tipping from happeningll the plywood will be colored and sealed
Describe Design Details
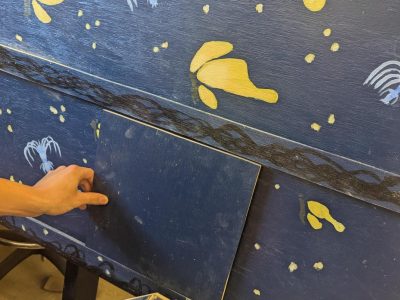
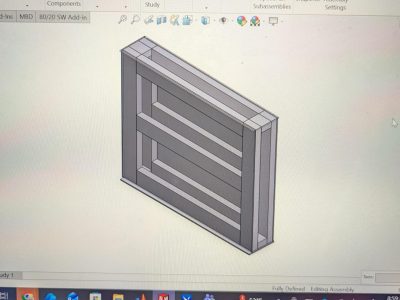
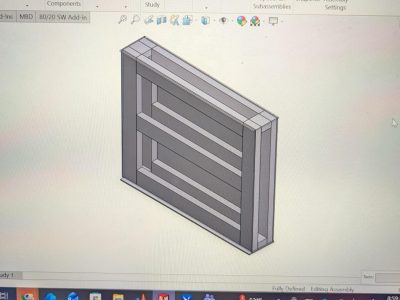
The sensory board will be constructed as a larger board that will have smaller panels that will be able to slide into the board. In this way, interchangeable panels will become one of the most important assets, allowing the students to design their own board or take the panels into the classroom with them.
Diving more into the panels, the board will include life skill panels, which will allow these students to engage in important aspects that go beyond simple sensory stimulation. This helps promote independence and develop/reinforce skills that will be taken with them past high school. Other panels include a combination of different textures to help stimulate the tactile senses. Another big thing that is added to the panels is various 3D printed items, such as planetary gears and a ‘Do-Nothing-Machine’, to help engage the students and develop/reinforce motor skills.
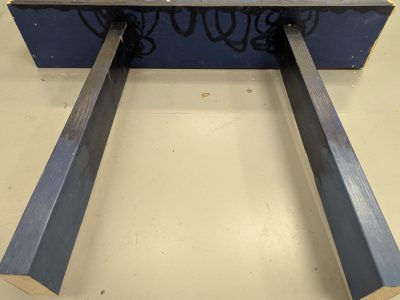
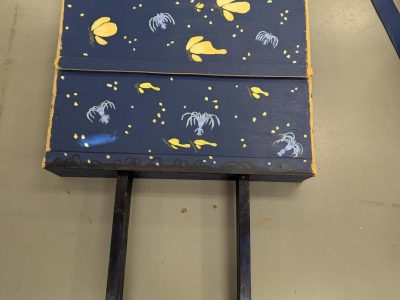
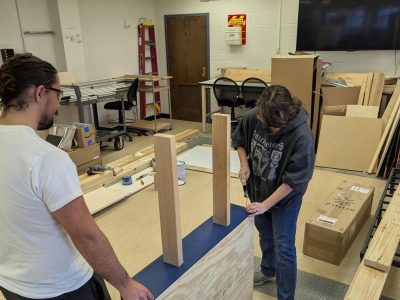
Next, the larger board will have two supporting legs in order to take a majority of the weight off of the wall mounting system, which would include six brackets with two anchors into the wall on each. The combination of the legs and mounting system will distribute the weight of the board more evenly and prevent any accidents from occurring in the future. The biggest thing the mounting system is mitigating is the board tipping over and harming one of the students.
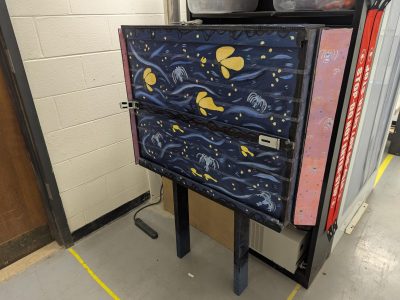
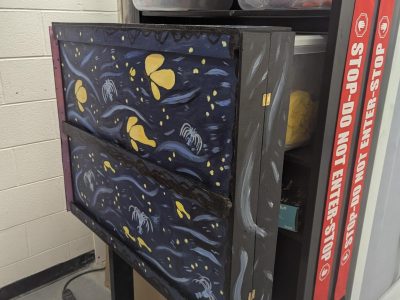
Finally, the sensory board will have side “doors” that allow for the sensory board to be closed off if the teacher desires it. There will be 270-degree hinges attached to these doors to allow for full rotation. There will be Velcro attached to the door to hold it open. It is assumed that the door will be open more of the time than closed. In the scenario that the teacher wants to lock the doors, locks will be added to either side. The thought of having locks on either side is to help increase the flexibility the teacher has with what they want open with the board.
Engineering Analysis 1
The moment analysis starts with determining all the forces acting on the sensory board (not the individual panels). The only forces acting on the board are the weight and the hypothetical horizontal force pulling away from the board at the highest point. This hypothetical force acts to simulate someone pulling on the board, causing a tipping moment to occur.
The overall conclusion from this calculation is to mount the board to the wall to prevent tipping from occurring.
Engineering Analysis 2
The weight/stress analysis started with finding the current, exact estimated weight of all the panels on the board. The weight of any fasteners to hold the board together was assumed to be negligible.
First, the mass was found by using the average density of pine wood plywood and the volume of each panel on the board. Then the weight was calculated by multiplying the mass by gravity at sea level.
Then, a stress analysis was conducted on the legs that help support the board. It must be noted that this analysis was simplified using a 2D assumption. The first step was to complete a free-body diagram of the board. The force of each leg was found. Then the stress acting on the legs was found with the earlier calculated forces.
The initial design for the legs was to use quarter-inch panels, but the stress was extremely close to the yield stress of the plywood. Changing the cross-section to a solid piece of wood drastically reduced the stress applied to the legs. For safety, the legs were changed to the solid design, using 2×4-inch plywood, and the board will be mounted to the wall to help distribute the weight more.
Engineering Analysis 3
The friction analysis between two pieces of plywood was completed to see how hard it would be to slide the plywood panels into the plywood boards. It would defeat the purpose of removable panels if they were extremely hard to remove. This analysis assumes that there is a perfectly flat surface with no swelling or bulging.
The friction analysis showed that only 1.25 lbs of force was needed to be applied to move the panels along the board groove. Once it started moving, it would only take 0.75 lbs to keep it going.
Though this is not a lot of force needed to be applied to the panels, adding slick tape to the tops and bottoms of plywood inside the groove of the board will help reduce the required force to move the plywood. The goal is to reduce the needed force to make it easier for any high schooler who uses this room in the future.
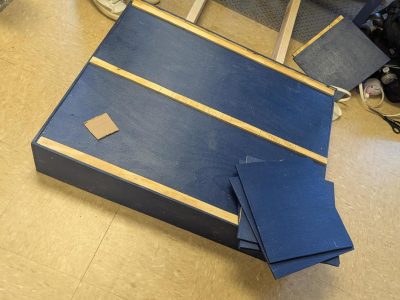
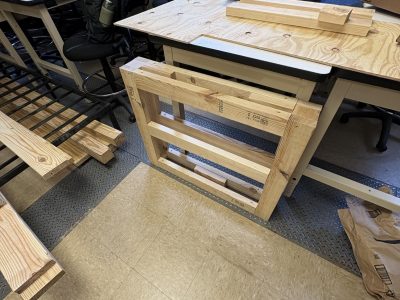
Started with a 2×4 base frame to add more structural support to the board.
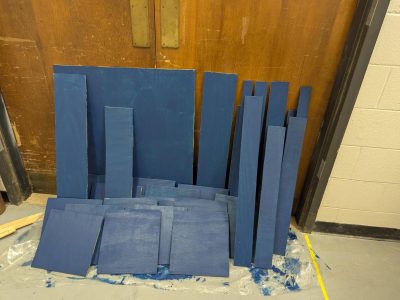
Cut, sand, and stain all the exterior plywood
Attach the plywood to the frame via nails and screws. This is just the base exterior layer. Also attach the legs.
Dry fit all the panels on the board and note any changes that need to be made
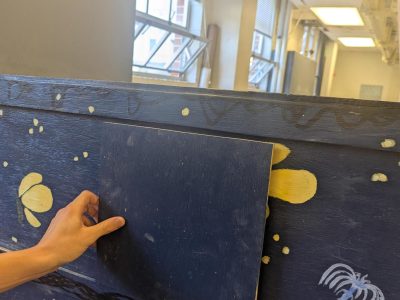
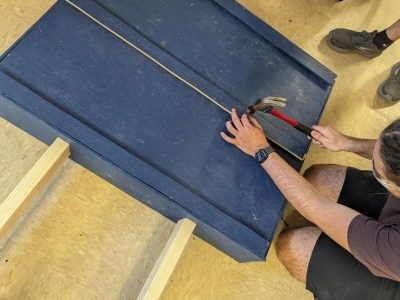
Before putting the final front pieces on, add thin pieces of 2×4 to allow for more tolerance between the board and the panels. This is to help reduce friction and make the panels slideable.
Put on the front pieces
Use wood filler to fill in any gaps between the panels of the board. Also used wood filler to round out the sides of the front passages
Sand down the wood filler and paint over it with a dark navy to give a border look
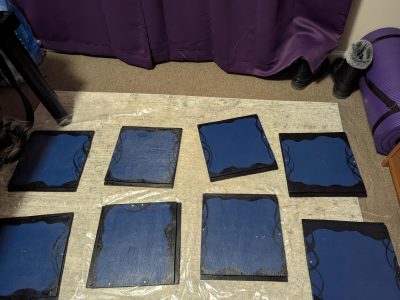
Paint on the front the board and the backs of all the panels
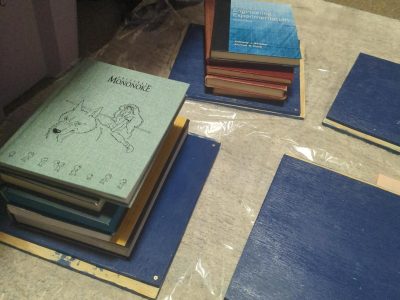
Add flexseal sealant on the panels and board to seal the paint
Adjust the panel sizes as needed to ensure a smooth fit
Glue and screw the front and back of the panels together (giving extended edges on the top and bottom, which is used to slide in and out of the board)
Use wood filler around the edges of the board, sand it down once dry, and paint a navy border
Screw hinges on the doors
Nail the doors onto the board
Repaint the doors since the sealant did not dry very well and gave it a bubbly textured look
Add some touch ups on the front of the board since some sawdust got bonded to it by accident
Add a light coat of sealant on the door and front panel
3D housing for some sensory items to secure them to the panels
3D print sensory items
Screw on the latches to the front of the board and the second panel of the door
Add velcro to the front latches to prevent them from swinging aggressively
Add slick tape on the bottom edges and the back of the board. This helps facilitate smooth motion when moving the panels
Add all the sensory items to the panels
Testing Results
For testing, it made sure the legs were able to hold the weight of the board comfortably. It held it up without any troubles. For more stability, the board will be mounted to the wall.
For the panels, we slide them across both sections. It went in and across smoothly and easily.
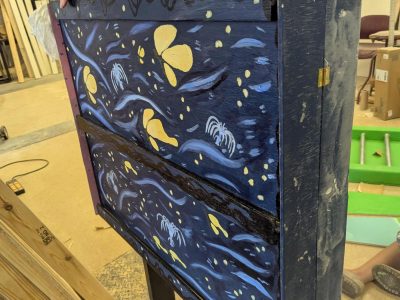
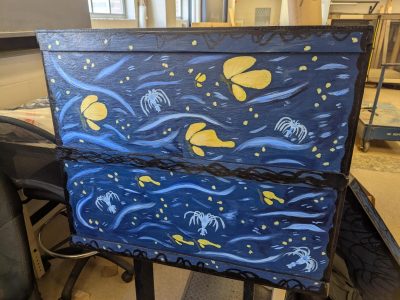
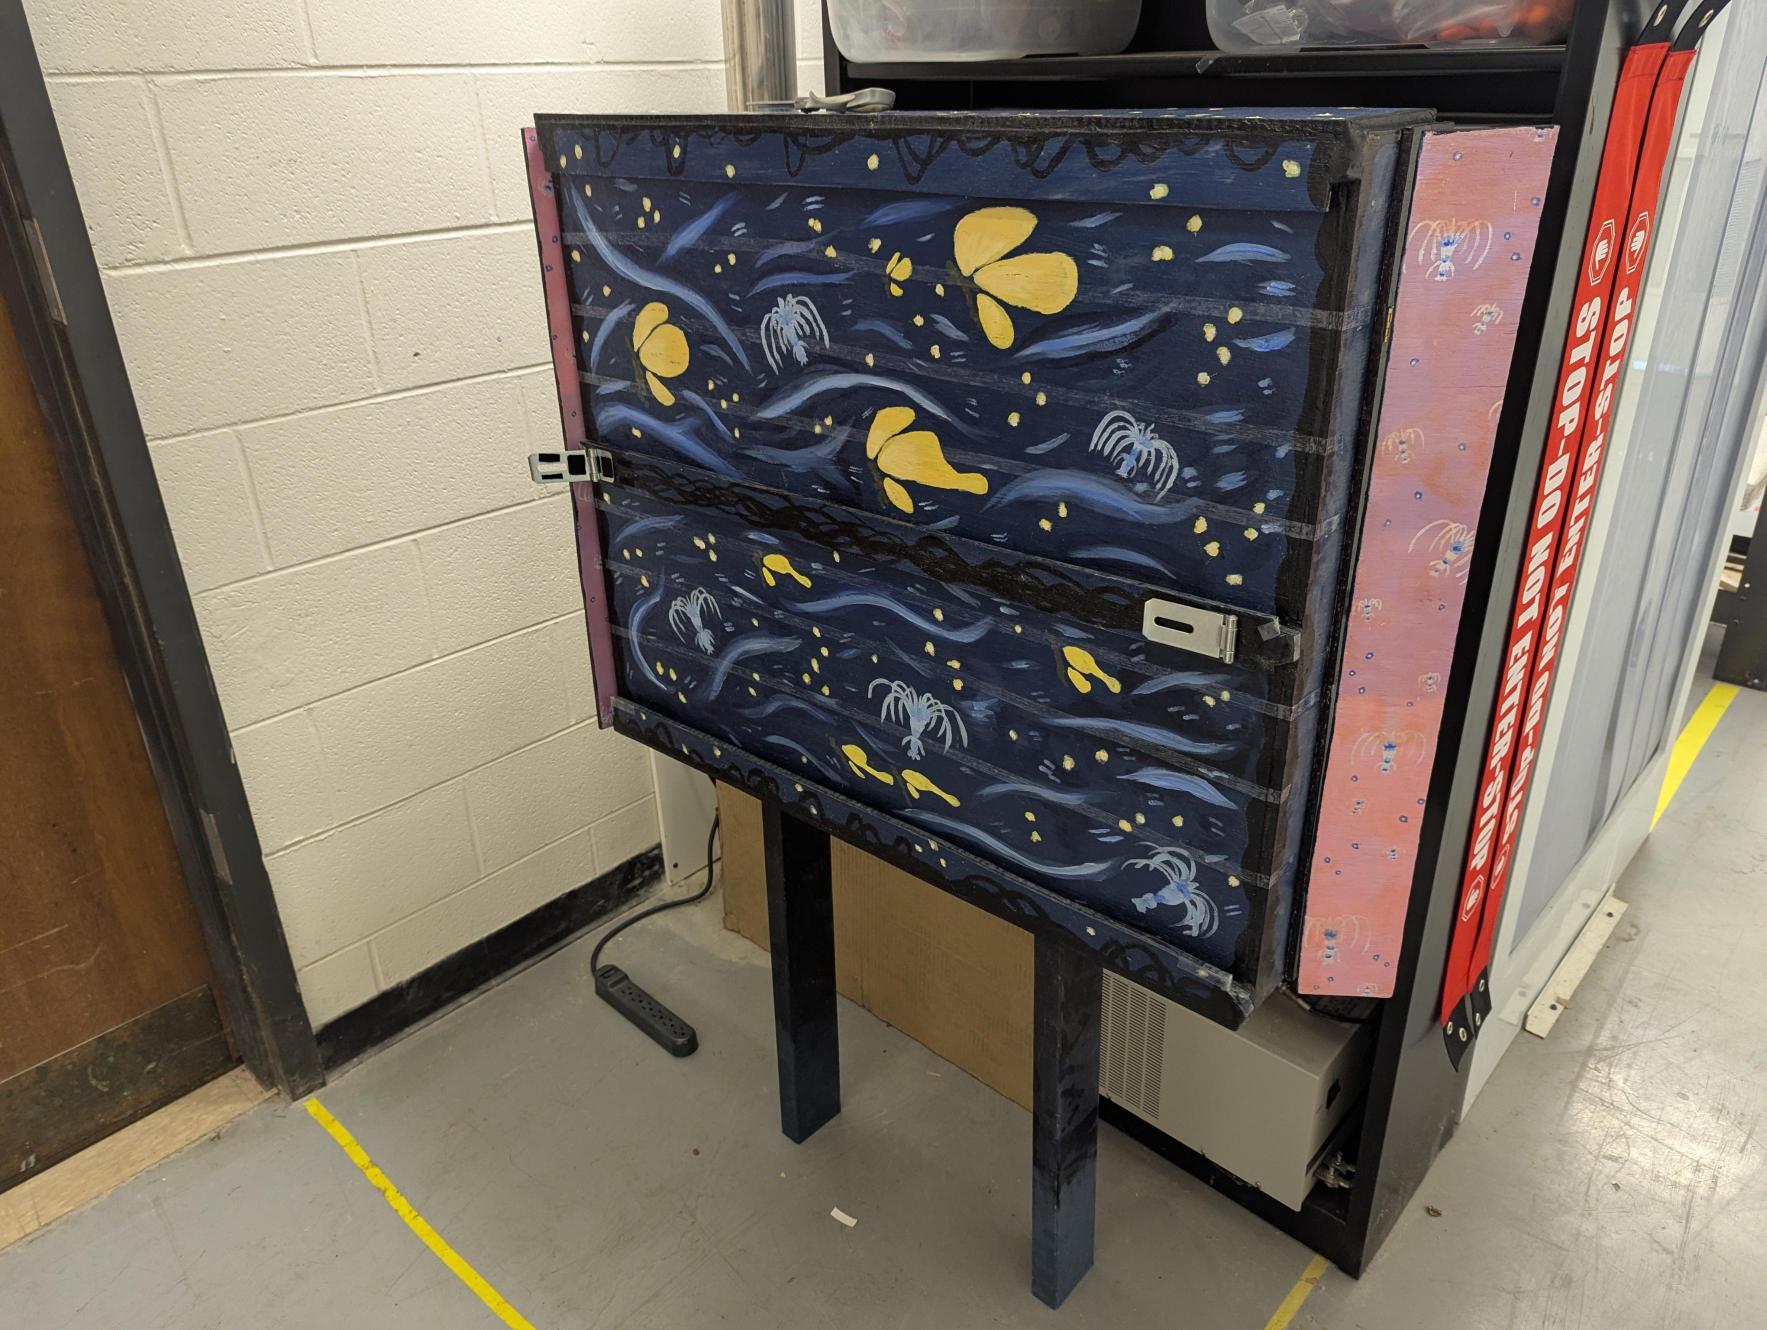
Completed Design Photos
Instructions for Safe Use
Instructions:
With the doors locked:
Put all desired panels inside the board
Close the doors on both sides
Use the locks to secure the doors
Use the panels on the board for sensory needs
Without the doors locked:
Take off the locks. Make sure the latches on the front get reattached to the velcro.
Either rearrange the board, take out desired panels, or use the board as it
Use panels for sensory needs
It should be noted that the panels can go with the students wherever they want.
Please do not jump, climb, or pull on the board in any fashion
Project Summary/Reflection
The sensory board overall was successful, allowing multiple panels to be slide in and out of the board. The panels came together nicely, fitting a variety sensory needs. Some of the panels focus on more raw simulation, while others focus on developing life skills. The doors are able to be opened and closed, even having a lock attached if keep the doors closed it more desired.
In hindsight, there are multiple things that we could have done better, giving a cleaner and nicer final look. One of the major changes would have been to paint the front of the board and then added a clear material like plexiglass. This would have help prevent the paint from rubbing off faster and saved time. Another change would have been to have a clearer, more professional layout for the individual panels. These slight changes would have made things slightly better in the long run, but this project helped us learn to keep these things in mind in the future.
Overall, this project was an enjoyable way to work on designing with manufacturing in mind, accounting for tolerances, bringing theory learned in the class room into play in a real-world scenario, and help someone in need.